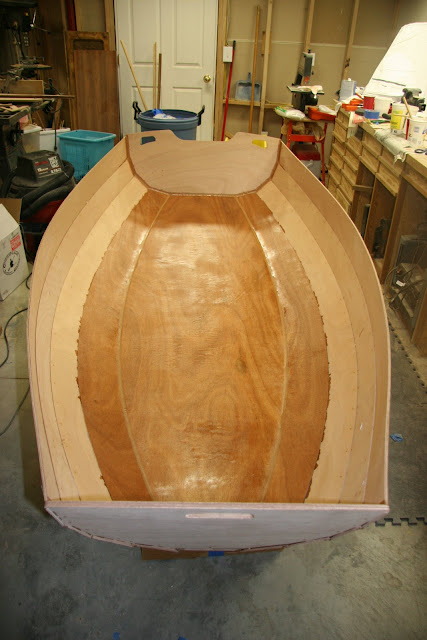
I took the next scary step in building my pram: adding fiberglass to the inside bottom of the hull. The fiberglass actually goes on the first side panels in addition to the bottom panel. That's why I had to add a fillet between the bottom and the side panels. I've never worked with fiberglass before and was pretty nervous about it.
Step one was to sand the area to be fiberglassed. I was pretty pleased with how well the wire holes cleaned up.
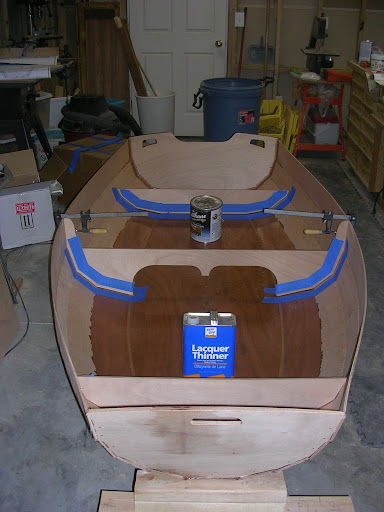
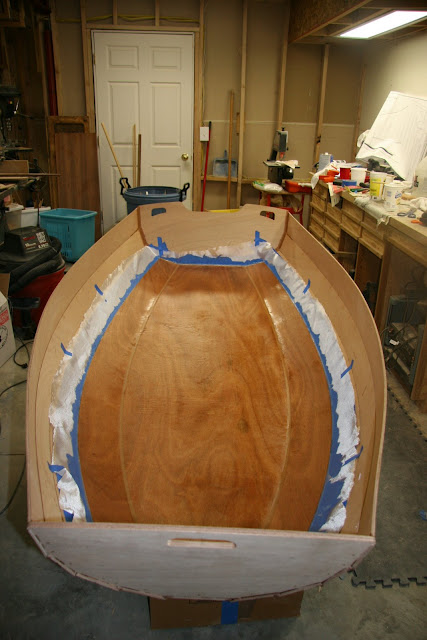
Step two was to add masking tape to the 2nd side panels and the transoms to control where the fiberglass was bonded. I used a
lot of masking tape.
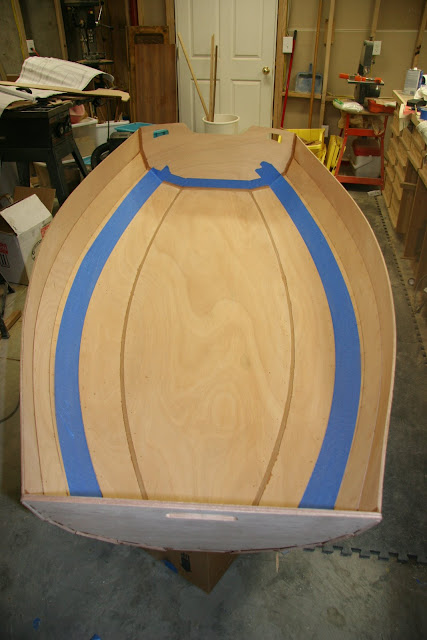
Step three was to lay the fiberglass in position and roughly trim it to fit. The fiberglass fabric was shipped from CLC folded up in a big ziploc bag. It was somewhat difficult to maneuver into position because 1) it had a pretty good case of static cling and 2) it had a tendency to snag on the unfinished plywood edges of the hull. After I got it into position and trimmed I taped it in place.
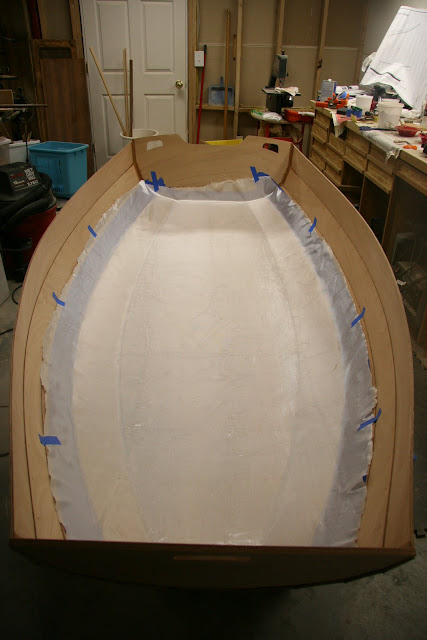
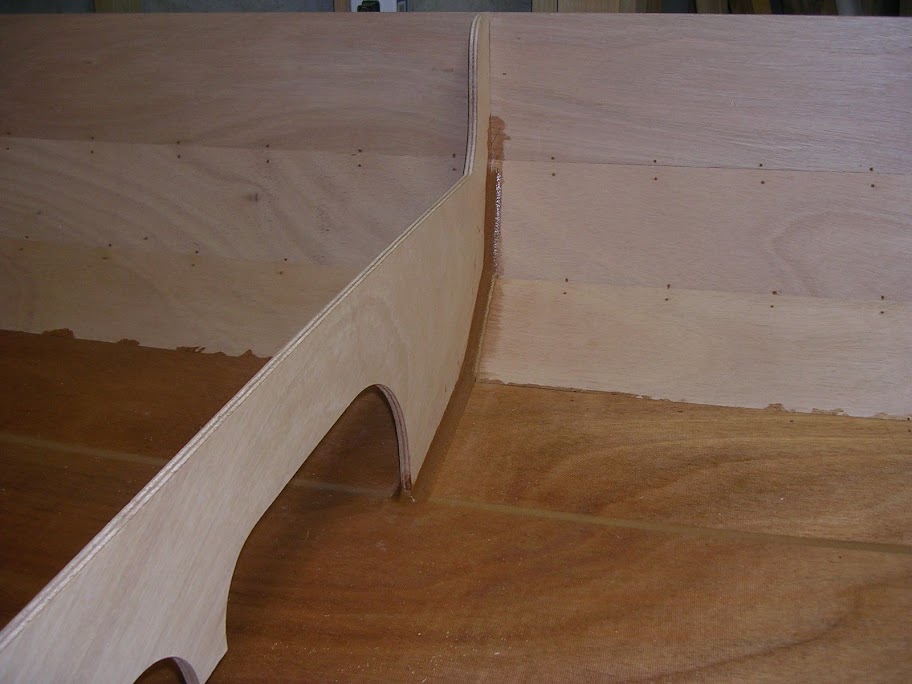
The weave was a little loose where the fabric had been folded. I hoped this would be unnoticable after all of the layers of epoxy were on.
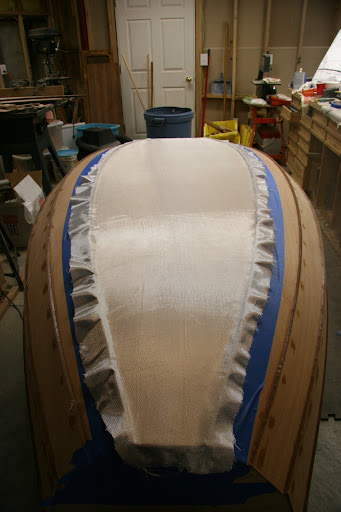
Step four: add the epoxy. I mixed up about 5 1-cup batches of unthicken epoxy, using each batch completely before mixing the next. I proceed to wet out the fiberglass by pouring a puddle of epoxy on the fabric and spreading it around using a 4" plastic spreader. I worked from side to side and front to back. The desired end result is for the fiberglass to be just wetted out with no dry spots and no shiny spots. I didn't worry about adding too much epoxy at first. My initial goal was to just get it completely wetted out. Once I had done that (after the 5th epoxy batch), I started at the front and used the spreader to squeeze out the excess epoxy. I had to balance between squeezing hard enough to remove the shiny spots but not enough to shift the position of the fiberglass. The only really tricky part was the inside curve between the bottom and side planks. It was hard to remove all of the excess epoxy there. Oh well, just more sanding later.
The looseness of the weave was still apparent, but all-in-all, I was happy with the result.
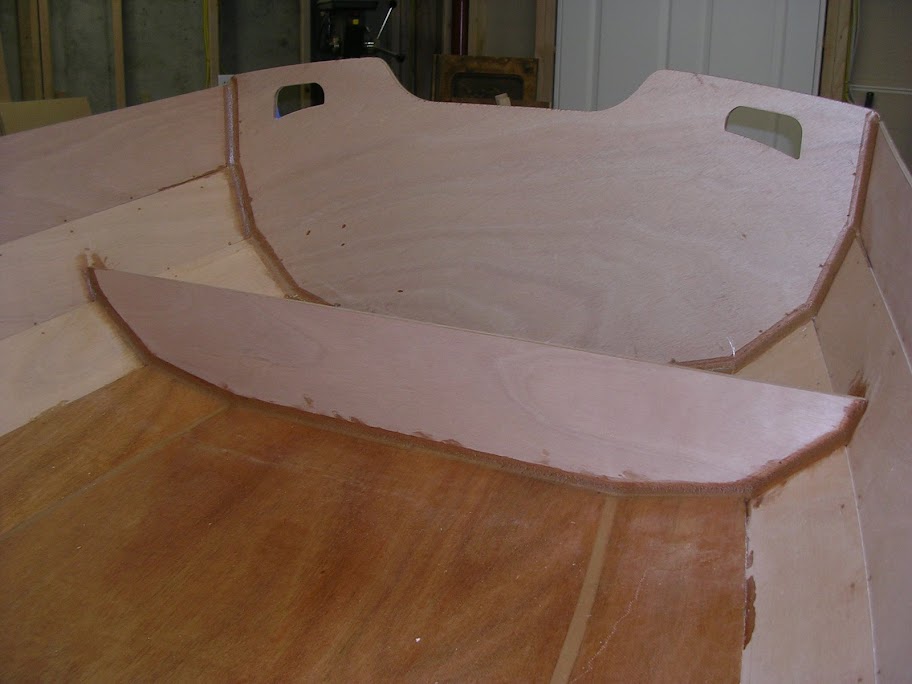
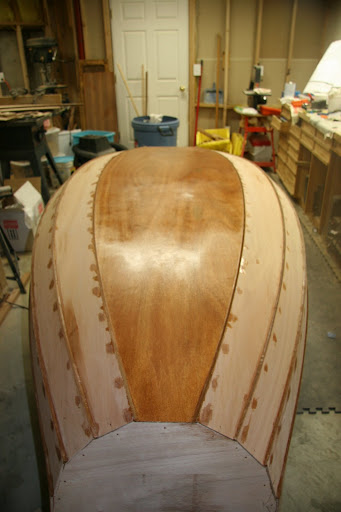
The final step was to trim the fiberglass with a utility knife and pull the masking tape. I was debating with myself as to the best time to do this: before or after the epoxy hardened. I opted for before, when the epoxy was still tacky, and was glad I did because epoxy had run underneath the masking tape and would have glued it down had I not pulled it before the epoxy set. One problem with pulling it before was that little tufts of fiberglass were set free when I trimmed the fabric and some of them decided that landing on the still tacky epoxy was a good idea. Another sin to be hopefully covered with future epoxy coats.