Monday, January 21, 2008

Mast Step and Transom Doublers

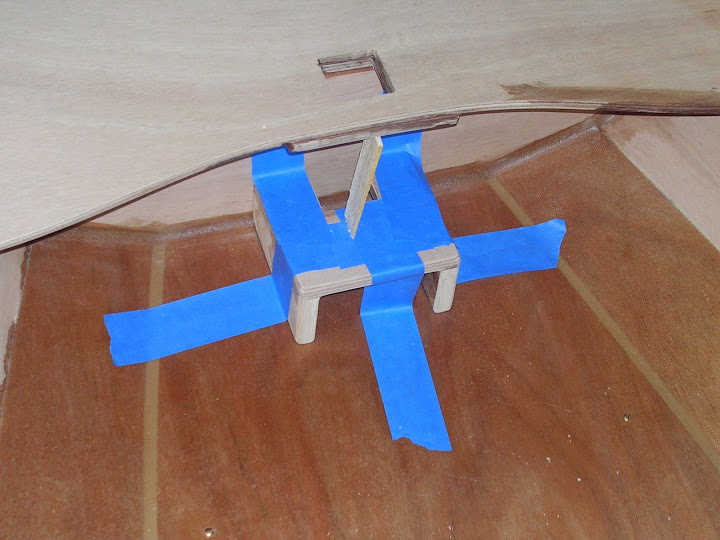
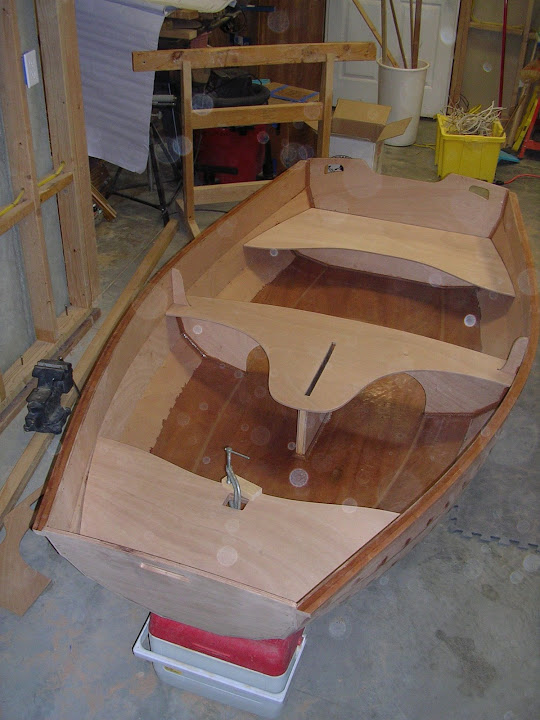
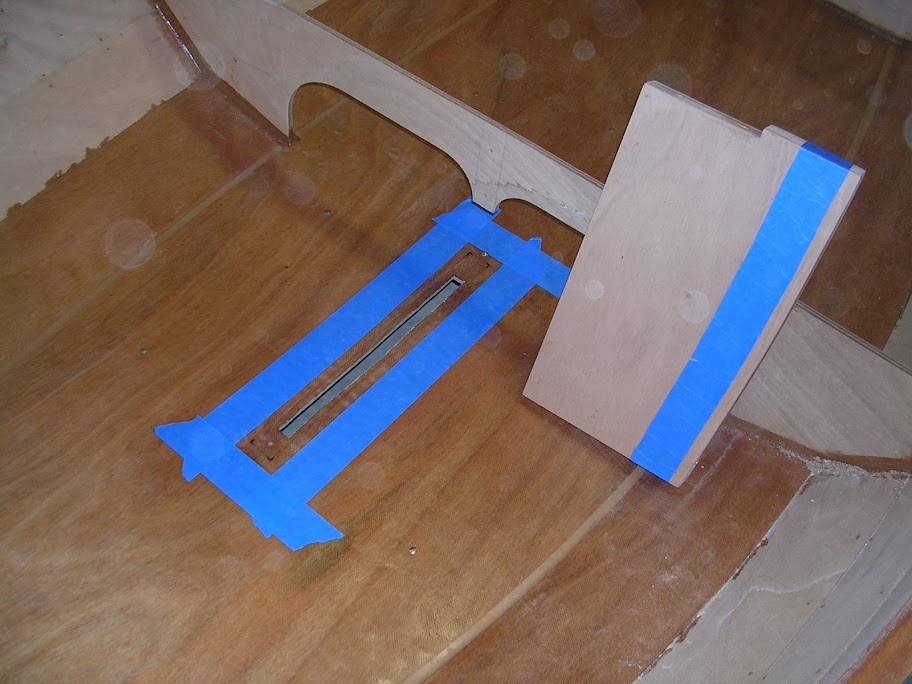
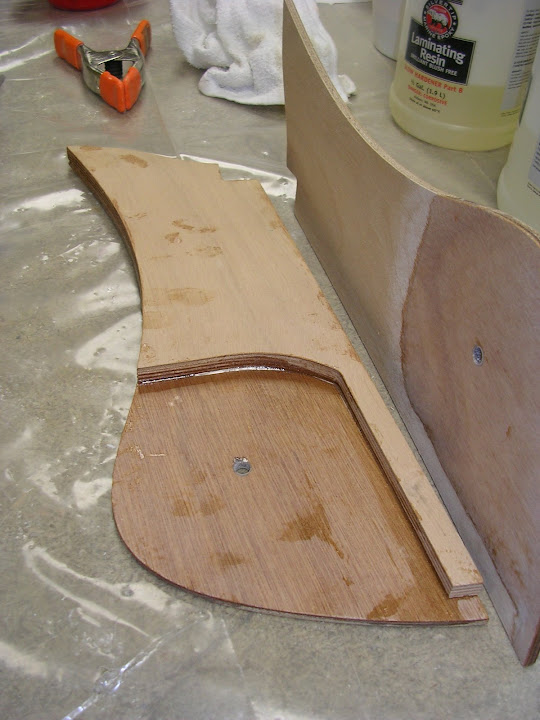
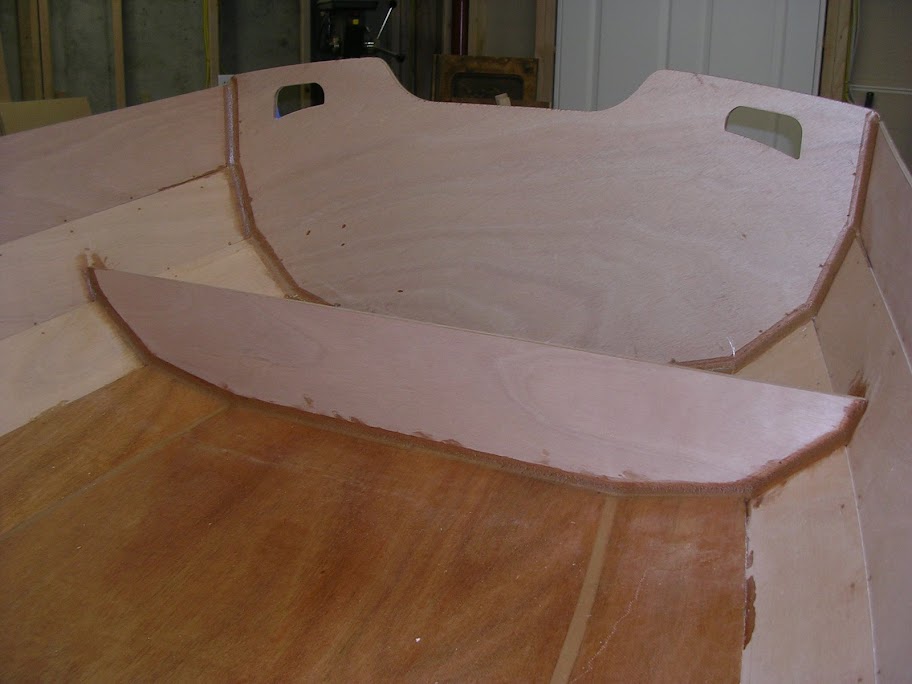
Tonight, I glued in the mast step and transom doublers. Before doing so, I had to sand the edges of the doublers to conform to the fillets between the hull and transoms and seats. I also had to adjust the forward edge of the mast step to conform to the fillet at the base of the bow bulkhead and to the angle between the bulkhead and the bottom panel.

Once I got the mast step to fit, I carefully marked where it needed to go (using a combo square) on the bottom panel. I drilled four holes from inside to outside. I then taped the step back into position and used a piece of wood to hold it securely. This allowed me to tip the boat on its side so I could pre-drill back into the step from the outside.


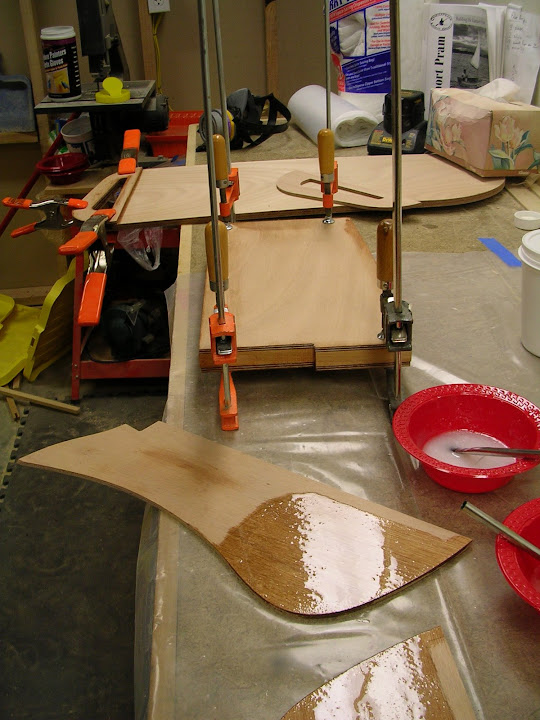
Now I was ready to glue. I mixed up a 2-pump batch of bonding mixture. First I glued the step into position, added the wood "clamp", tilted the boat, and screwed the step down. It even stayed in the proper position!

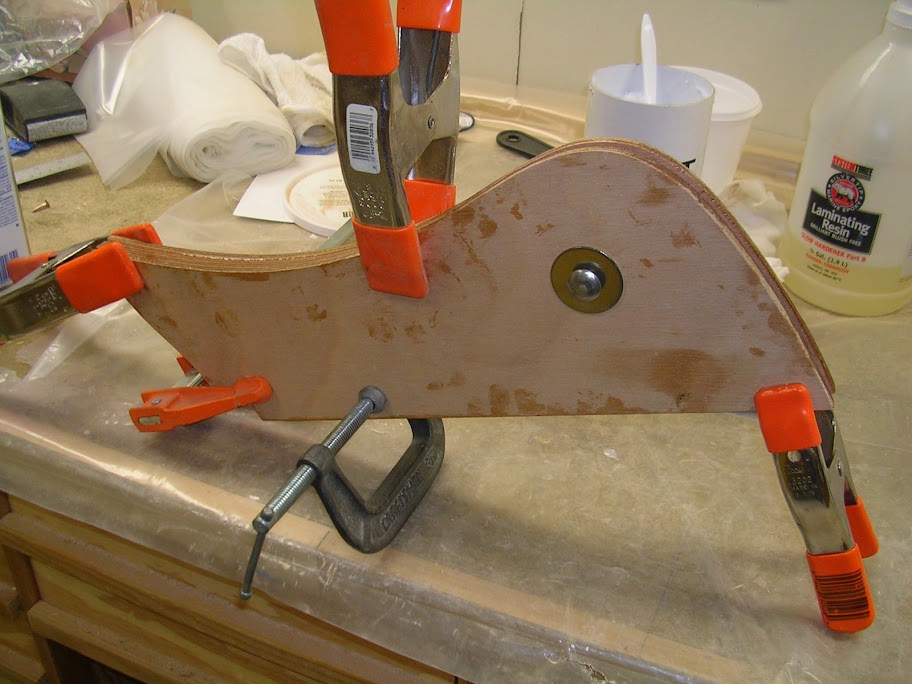
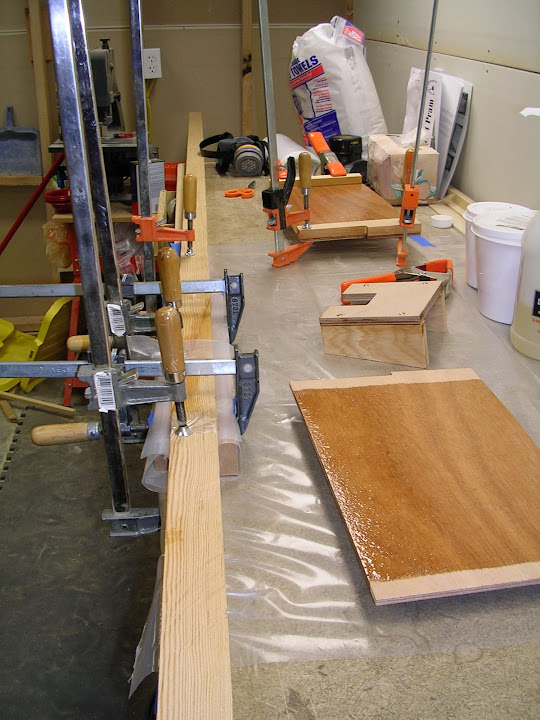
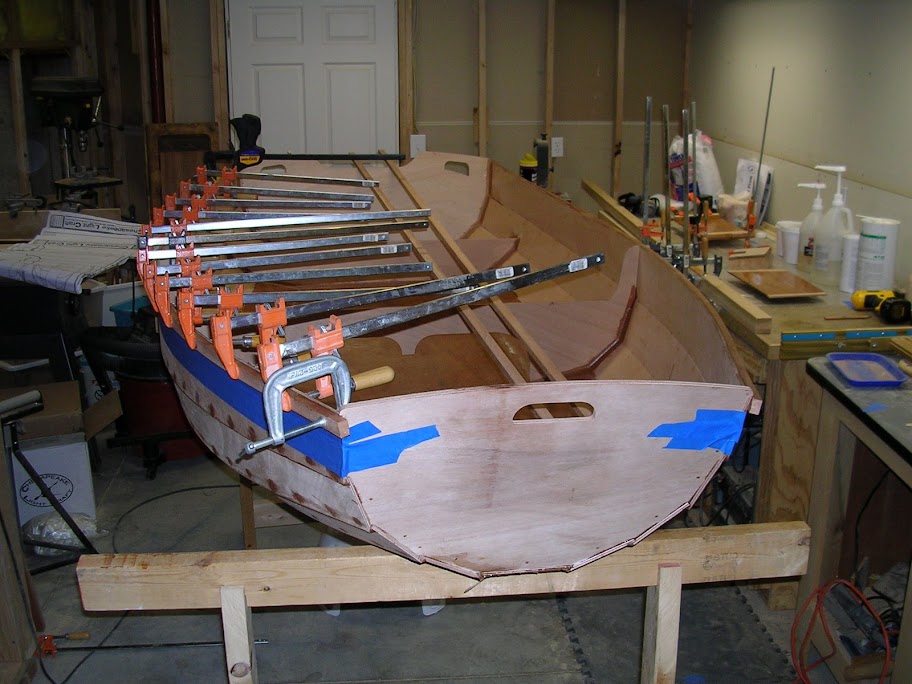
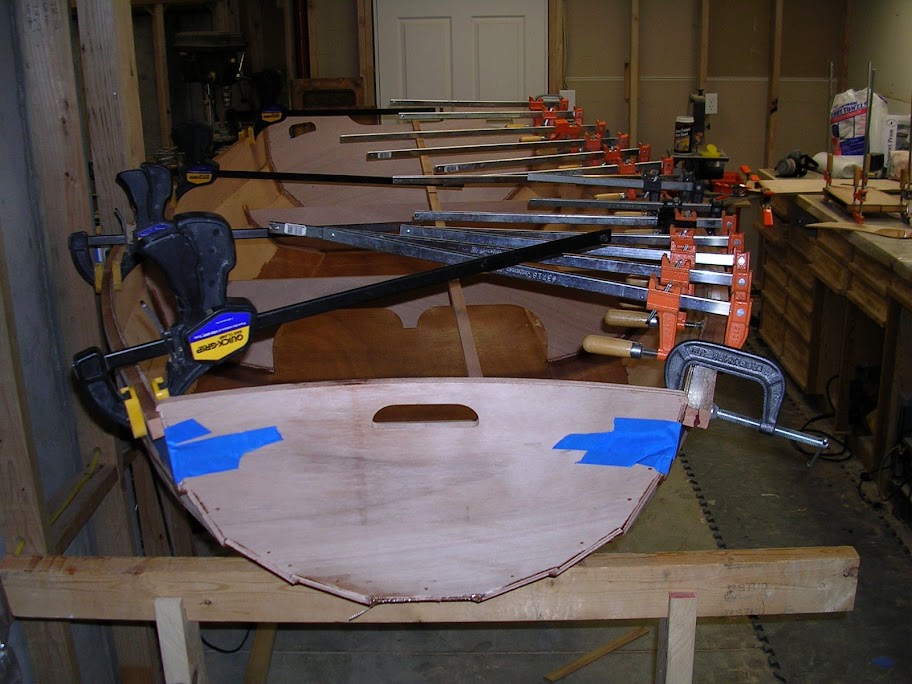
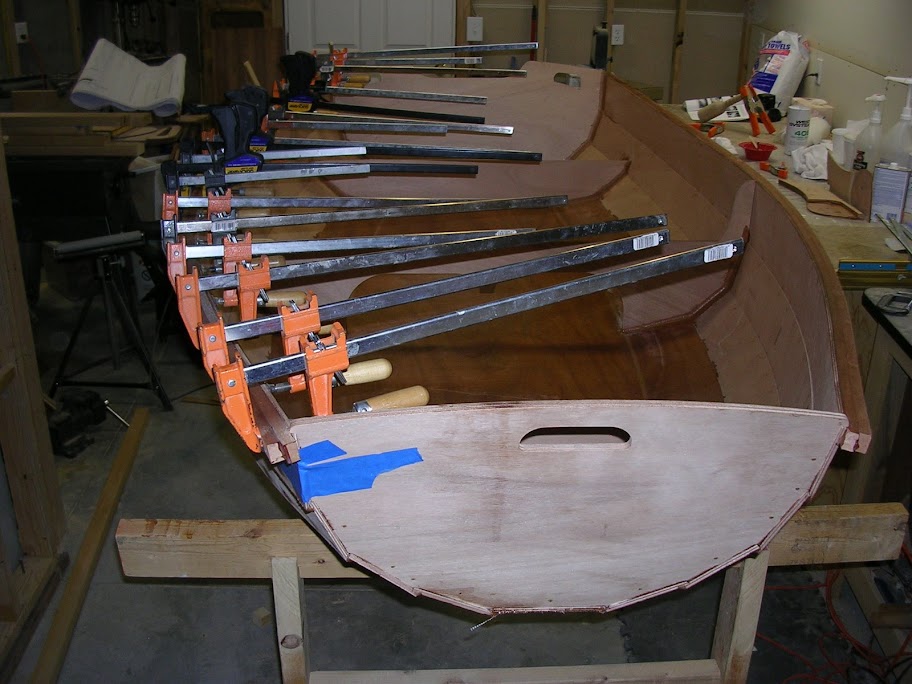
Next I glued the doublers into position using a lot of clamps. I used another long piece of wood wedged between the centerboard trunk and the bottom of the stern doubler to hold it into position (since I didn't have any clamps that had long enough jaws to reach that far).


Next I'll add fillets to the mast step and fill in the gaps around the doublers. I'll also fill in any remaining suture holes on the inside of the hull.

Sunday, January 20, 2008

Seat Fillets (Part 2)

I finished filletting the seats today. What a pain.

I flipped the boat over and put it on sawhorses. This way I could sorta stick my head inside and add the remaining fillets without too much trouble. It still was cramped and I should have added some extra light to see what I was doing. At least it will be hard to see what kind of a job I did.

It took 3 batches of epoxy to get it all, plus a fourth batch after I realized that I had made the third too "dry" by adding too much wood flour. That last batch, which had less flour than any other I've made recently, went on very smoothly.

I had some of the mixture left over, so I filled the remaining suture holes on the outside of the hull (using the "drilled roll of tape" method).

Next up: adding the transom doublers and the mast step. That will be the last of components to add to the pram. After that: sanding, epoxying, more sanding, varnishing and painting (oh, and probably more sanding).

Saturday, January 19, 2008

Seat Fillets (Part 1)

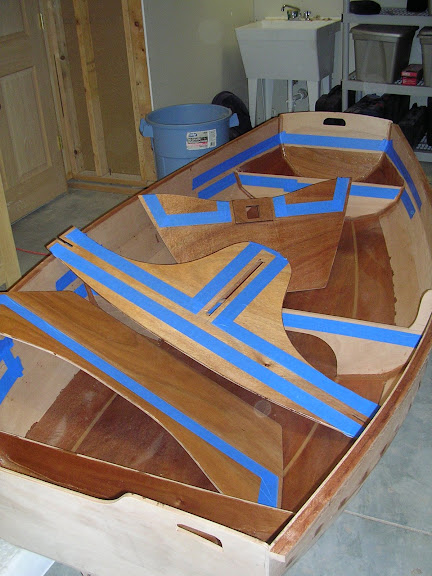
I started out the day not having decided whether to do the fillets in one pass or two. I decided to see how it went. So I added masking tape everywhere needed (I had to pull some of it off yesterday so it didn't get "bonded" to the boats along with the seats) and made up a batch of my fillet mixture. I realized that one batch wasn't going to go too far - only the forward seat and half of the middle seat, and this was only the top. I made up another batch and finished the fillets on the middle and aft seat tops.

At this point I realized that I wanted to tip the boat on its side to make adding the fillets under the seats less of a pain. Since I didn't trust that the initial bonding on the seats would hold, I figured I needed to wait for the initial set of fillets to set.

Good thing too, since I realized that I was almost out of wood flour. There wouldn't be enough to complete all off the fillets. Fortunately, we have a Woodcraft store near us that carried System 3 epoxy, and even better, the same System 3 wood flour I had been using.


Here's a look at the freshly installed top fillets. It looks a little sloppier that it is because the alcohol I used to smooth out the fillet hasn't dried up yet.

Gluing the Seats

I bonded the seats in yesterday.

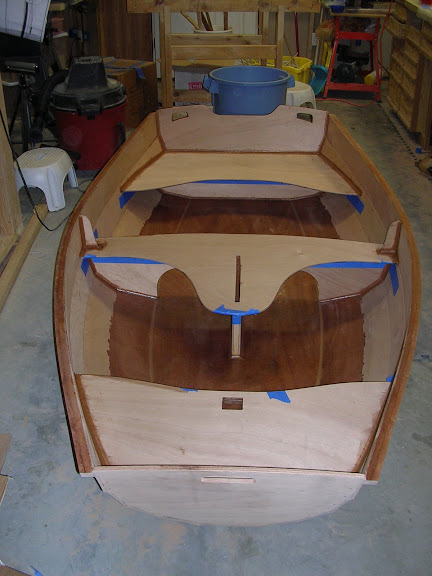
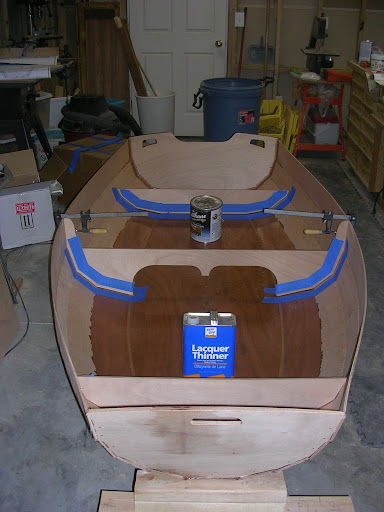
Here are the seats after sealing with epoxy and partial sanding. Note that I've added masking tape in preparation for filletting.


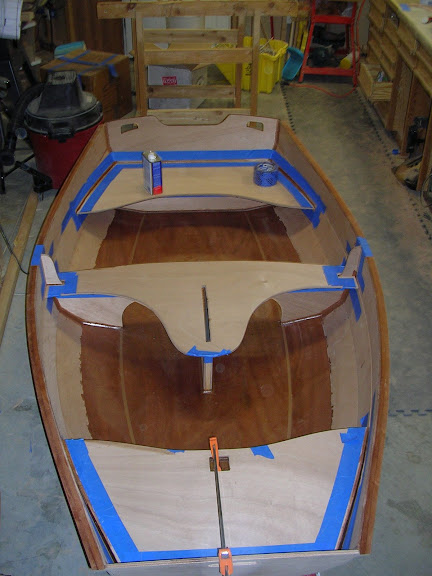
After seeing how hard it was to keep the seats in the right position, I decided to to bond the seats as a separate step before adding the fillets. I made my usual bonding mixture, coated the edges and put the seats in. I had to add some weights and clamps to get the seats to stay put in the right position. I carefully checked for drips, but there weren't any.


Here it is immediately after gluing.


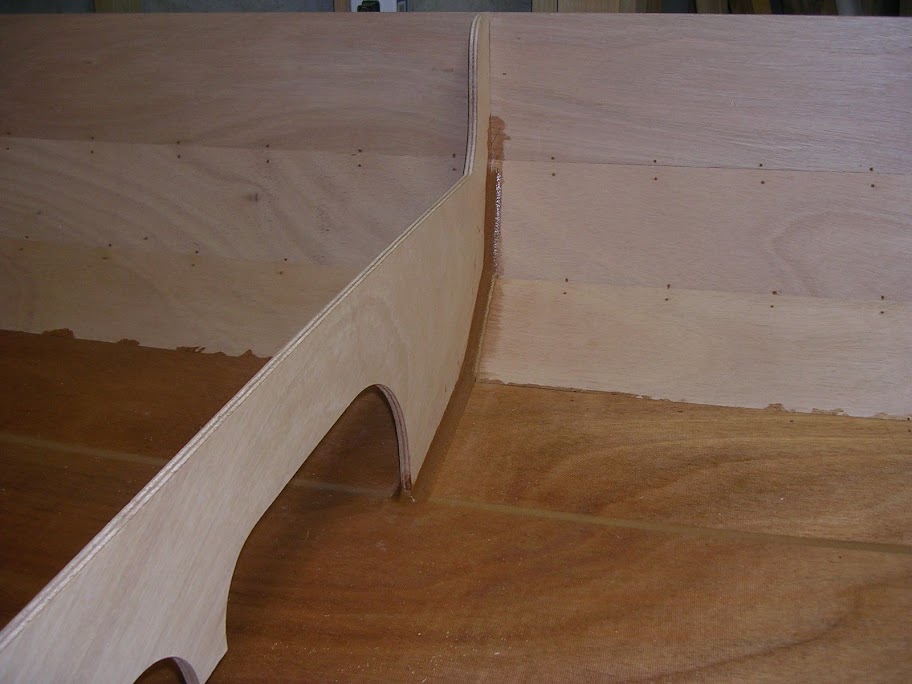
Here's a close up of the forward seat after the epoxy set.

Monday, January 14, 2008

Prepping the seats

Tonight, after sanding them, I coated the underside of the seats and the sealed areas they will create with a thin layer of epoxy. I tried a technique suggested in the Moores and Rossel book: after letting the epoxy sit on the plywood for about 30-45 minutes, squeegee off the excess epoxy. The idea is to create a thin layer of epoxy without any bubbles. Since no-one is going to look at the underside of the seats, I thought I'd experiment with this technique there.

Next up: gluing the seats in. I haven't decided whether to glue the seats in and fillet in one pass, or to bond first, then fillet. I'm leaning towards the latter mainly because the forward and aft seats (thwarts?) don't want to stay in their proper position. I'm worried that adding the fillets will cause them to shift, especially when working upside down inside the boat. I may even choose to fillet in a couple of passes too. One pass to do the top fillets and another to do the underside ones (perhaps even turning the boat on its side or upside down).

Stay tuned.

Sunday, January 13, 2008

Fitting the seats

I've caught up with my blogging!

Today, I fitted the seats.

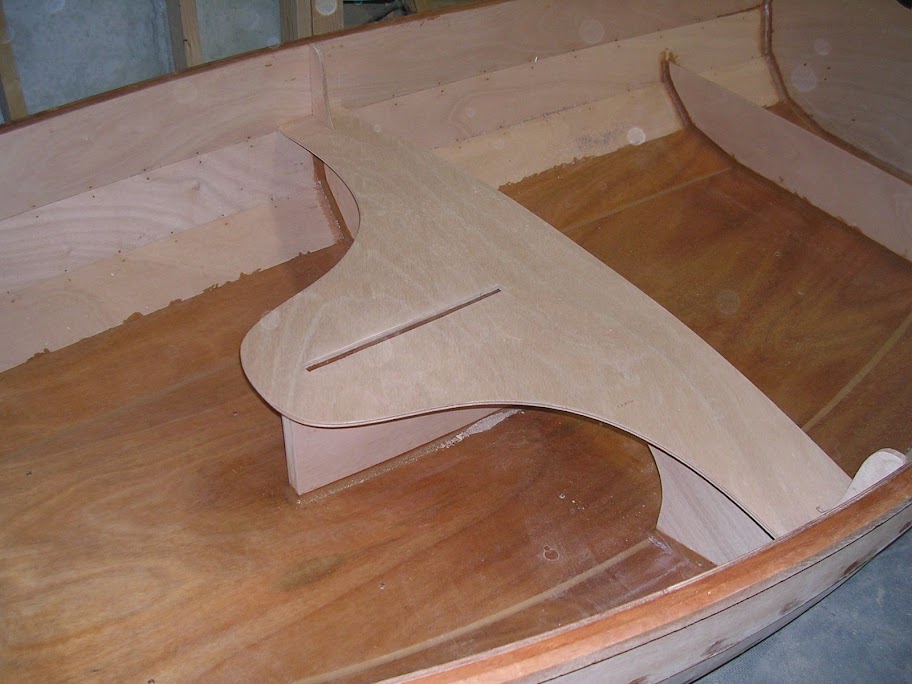
The middle seat was the easiest - it just fit. I carefully cut a slot for the daggerboard.


The other two required some work. I found the position for the forward seat by clamping the mast doubler into place. The plans showed that the front part of the double had to touch the bulkhead. So I sanded the seat and tilted it to the right position so it did.

The aft seat required the most sanding, but finally I got it into position.

I ended the day by bonding the mast doubler to the forward seat and starting to tape in preparation for gluing and filleting the seats.

Adding the daggerboard trunk

Only one day behind now!

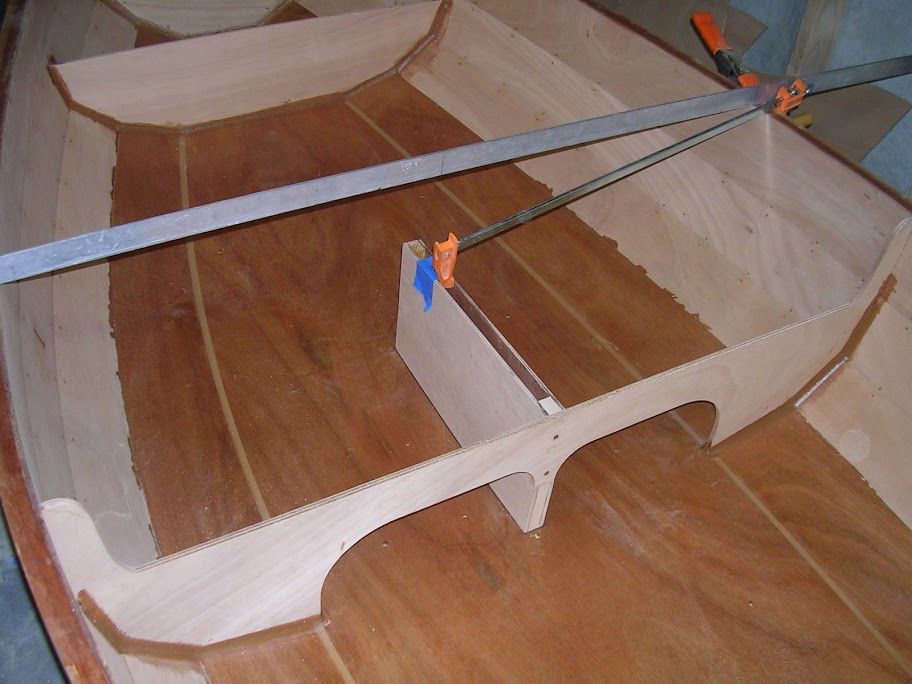
Next, I glued the daggerboard trunk to the hull, in front of the middle bulkhead. It required a bit of sanding to get it to fit properly. The curve on it matched the bottom perfectly, but it was an 1/8 inch too tall.

Once I got it to fit, I put it into position and screwed it to the bulkhead. It wasn't parallel to the centerline of the boat, so I used a clamp to hold it in the right position.


Here it is in the correct position. Note the metal piece I used to find the center of the boat.

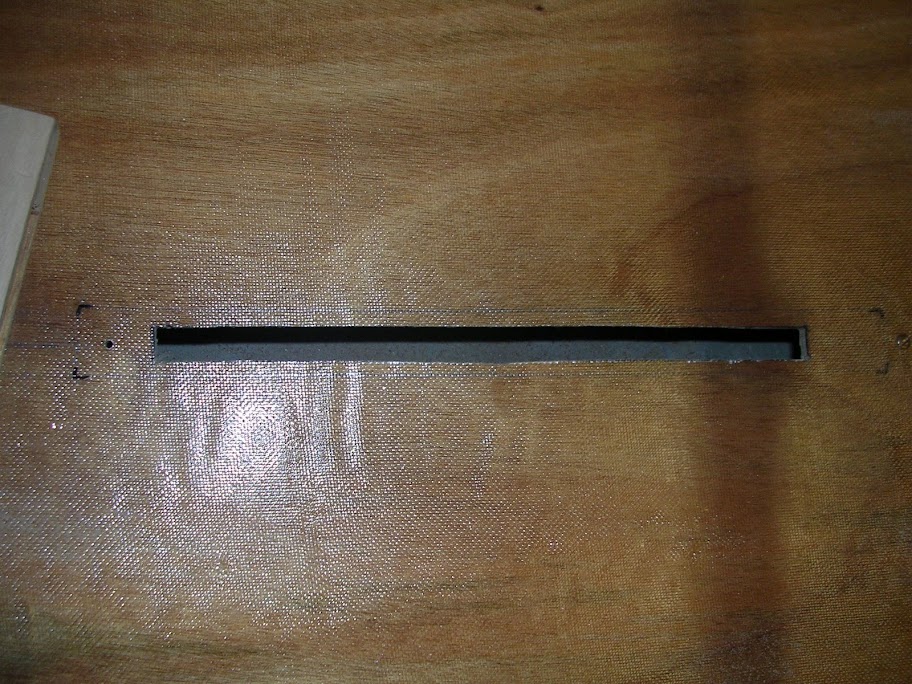
Now the scariest part of building the boat so far: cutting a slot for the daggerboard in the bottom panel. I marked the position of the trunk and removed it. I measured carefully and marked where to cut. I drilled a couple of holes to start sawing. I wound up using a drywall knife to cut the slot. It worked pretty good, although I'm terrible at cutting a straight line.

Here's the slot I cut.


Masked and ready for gluing. The plans called for just gluing the trunk down with the fillet mixture. I decided that I was more comfortable with using a bonding mixture first, then adding the fillet (I did this on the skeg and skids as well).


The final result.


After I bonded the trunk down, I had epoxy left over, so I finished up the rudder cheeks.

Skeg and skids

Hey, only 4 days behind on my posts!

Next up was gluing on the skeg and skids. The skeg needed a bit of sanding to fit flush to the bottom of the hull. Next I marked it's position and (gulp!) drilled holes into the bottom to allow the skeg to be screwed on. The plans say to start gluing at this point. Since it's obvious by now that I'm taking my time on this boat, I decided to pre-drill the skeg so there would be less of a struggle to position it when it was covered with wet epoxy. So I clamped it into position and drilled pilot holes into the skeg from inside the boat. I did the same for the skids (after sanding them to the right shape). When they were still screwed, but not glued, to the boat, I masked the area for the fillets.


Here they are, ready for gluing. I made a slight mistake here prepping for the skeg fillets. I used the filletting tool to mark the proper position for the tape. Unfortunately, I used the fillet tool I made for the bottom panel and not the 1/2 inch radius tool I meant to use. This wasted a lot of epoxy by time I realized my mistake.


However, it turned out OK.

Random gluing

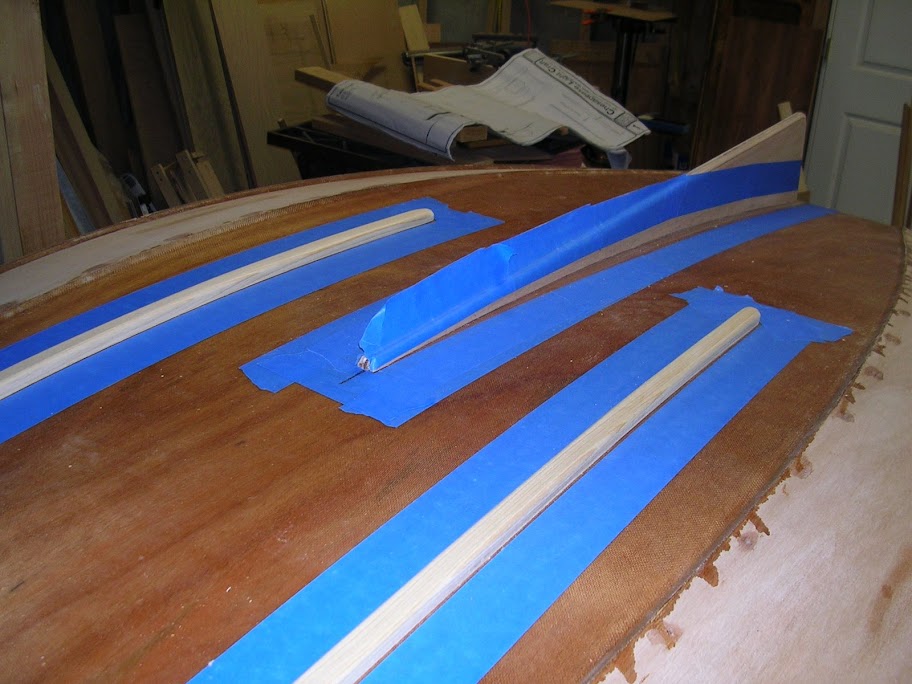
The only thing I haven't glued directly to the hull so far was the skeg. As I started gluing the outwales on, I had a bit of glue left over. So I glued the mast pieces together, laminated the centerboard handles, glued up the mast step, glued up the centerboard trunk and started gluing up the top portion of the rudder.

Note my clever use of plastic to avoid gluing my mast to my workbench!


The top part of the kick-up rudder is composed of three pieces that are laminated together. The inside of the cheeks are coated with epoxy. There will be a carriage bolt that runs through the cheeks and captures the actual rudder blade in between. To avoid water intrusion into the cheeks an oversize hole is drilled into the cheeks, then filled in with thickened epoxy and finally re-drilled to the proper size.


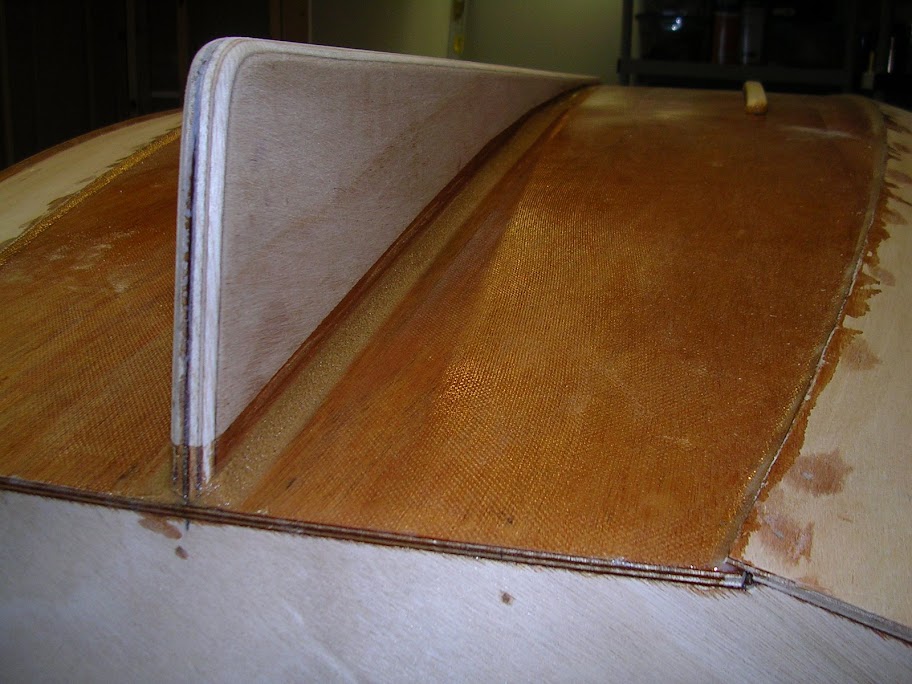
In addition, at some point during my long absence from this blog, I sanded the proper leading and trailing edge curves into the daggerboard and rudder blade (sorry, no pictures yet).

Adding the outwales

Adding the outwales is the part that for some reason took me six months to complete. Oh yeah, summer happened. I emailed John, asking him whether I should try to laminate both of the outwales pieces on each side simultaneously, or do them one at a time. He said that if I had time, I should do them one at a time. Well, I'm not exactly a speed demon about building this boat, am I? One at a time it is.


First port (April 2007).


Then starboard (May 2007).


Then the second piece to the port (May 2007).

And the final piece to the starboard (December 2007!).

Monday, February 26, 2007

Bulkhead fun

Next on the agenda was to glue in the bulkheads. The middle one fit pretty much exactly where it should. The aft bulkhead was pretty close. The fore bulkhead was off by at least two inches.

I wasn't quite sure what to do. If I put the bulkhead where the plans indicated it should go, there was going to be a 1/2 inch gap between it and the hull sides. If I moved it to where it would fit, it meant that the mast would be in a different position than on the plans. What to do?

After exchanging email with John at CLC, he told me that the bulkheads quite often needed to be place differently than on the plans. He said I should just move it to where it would fit.

So I did.


Similar to the transoms, I wired the bulkheads into position, tabbed them, then added full-size fillets. Above is before the tabs.


Here's the middle bulkhead after final filletting.


Above is the fore bulkhead after all the filletting.


And here's the aft bulkhead after all the work was done.

The last of the fiberglass

OK, It's been almost 11 months since I last updated this blog. I'd like to say that I was so busy finishing the boat I didn't have time to write about it. But that would be lying. I did make some progress immediately after my last post that I never got around to writing about, but by March or so too many other outside activities kept me away from my Pram.

So here it's January. I've got to catch up on the little progress I've made (and I've got to actually start working on the boat).

This post and the next few will be retrospective, in that I'll be discussing what I did a while ago.

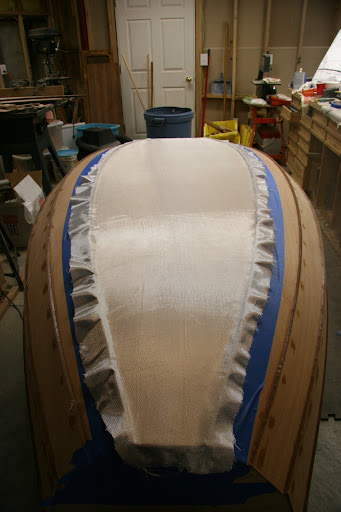
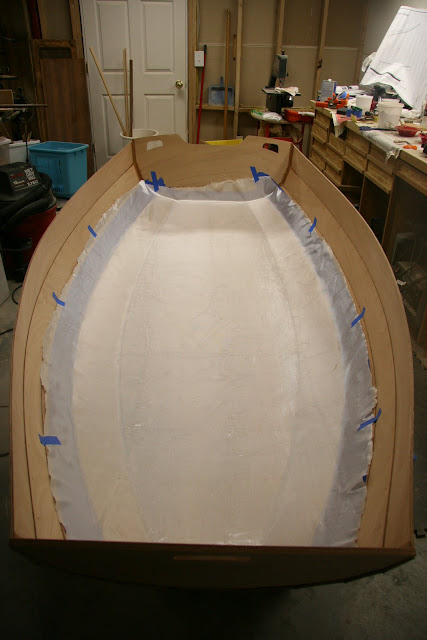
The day after I fiberglassed the inside, I flipped the boat over and fiberglassed the outside bottom.


I followed pretty much the same procedure as inside, taping first.


Then spreading the fiberglass out on the bottom. This was more difficult than on the inside, since between doing the inside and the outside, the fiberglass picked up some dust and dirt, which it really didn't want to let go of.


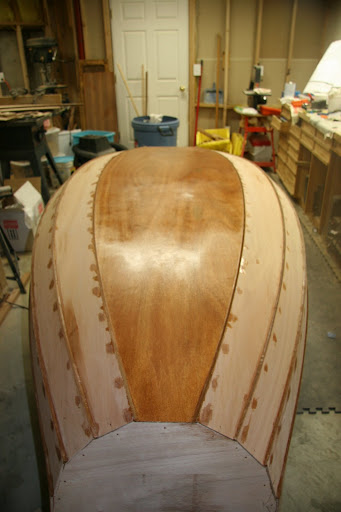
But, I managed to get most of the dirt out and added the epoxy.


Again, I was pleased with the results (except for not catching all of the drips in time).

Friday, February 02, 2007

Fiberglassing

I took the next scary step in building my pram: adding fiberglass to the inside bottom of the hull. The fiberglass actually goes on the first side panels in addition to the bottom panel. That's why I had to add a fillet between the bottom and the side panels. I've never worked with fiberglass before and was pretty nervous about it.

Step one was to sand the area to be fiberglassed. I was pretty pleased with how well the wire holes cleaned up.

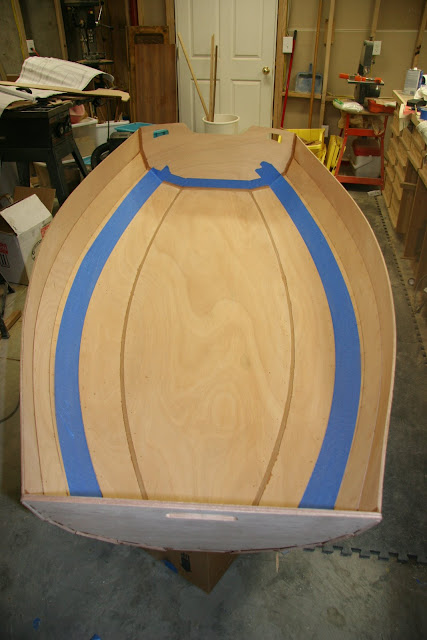
Step two was to add masking tape to the 2nd side panels and the transoms to control where the fiberglass was bonded. I used a lot of masking tape.


Step three was to lay the fiberglass in position and roughly trim it to fit. The fiberglass fabric was shipped from CLC folded up in a big ziploc bag. It was somewhat difficult to maneuver into position because 1) it had a pretty good case of static cling and 2) it had a tendency to snag on the unfinished plywood edges of the hull. After I got it into position and trimmed I taped it in place.


The weave was a little loose where the fabric had been folded. I hoped this would be unnoticable after all of the layers of epoxy were on.

Step four: add the epoxy. I mixed up about 5 1-cup batches of unthicken epoxy, using each batch completely before mixing the next. I proceed to wet out the fiberglass by pouring a puddle of epoxy on the fabric and spreading it around using a 4" plastic spreader. I worked from side to side and front to back. The desired end result is for the fiberglass to be just wetted out with no dry spots and no shiny spots. I didn't worry about adding too much epoxy at first. My initial goal was to just get it completely wetted out. Once I had done that (after the 5th epoxy batch), I started at the front and used the spreader to squeeze out the excess epoxy. I had to balance between squeezing hard enough to remove the shiny spots but not enough to shift the position of the fiberglass. The only really tricky part was the inside curve between the bottom and side planks. It was hard to remove all of the excess epoxy there. Oh well, just more sanding later.

The looseness of the weave was still apparent, but all-in-all, I was happy with the result.


The final step was to trim the fiberglass with a utility knife and pull the masking tape. I was debating with myself as to the best time to do this: before or after the epoxy hardened. I opted for before, when the epoxy was still tacky, and was glad I did because epoxy had run underneath the masking tape and would have glued it down had I not pulled it before the epoxy set. One problem with pulling it before was that little tufts of fiberglass were set free when I trimmed the fabric and some of them decided that landing on the still tacky epoxy was a good idea. Another sin to be hopefully covered with future epoxy coats.

Monday, January 29, 2007

Final transom and bottom fillets

After almost two weeks, it was time to get back to the boat.

Yesterday:

After the transom tabs dried, I pulled the wires holding the transom on. Amazingly, the tabs actually worked and the transoms didn't fall off!

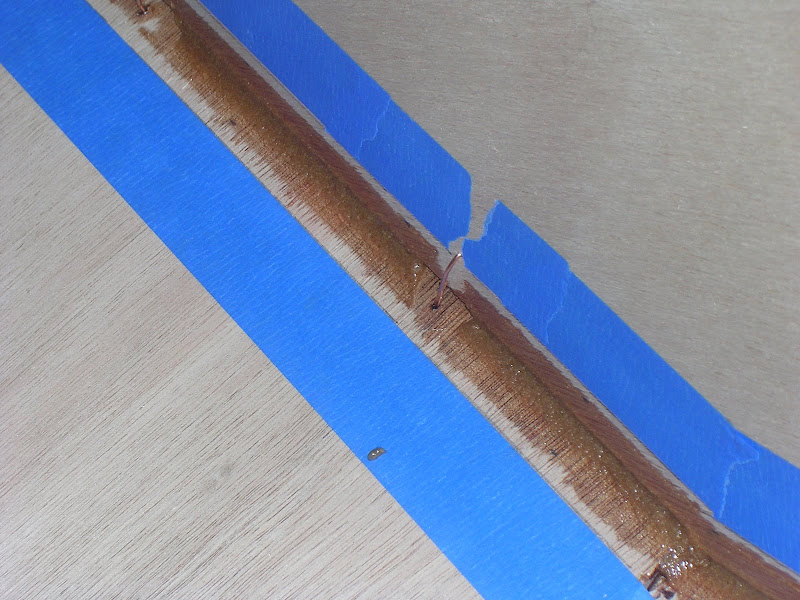
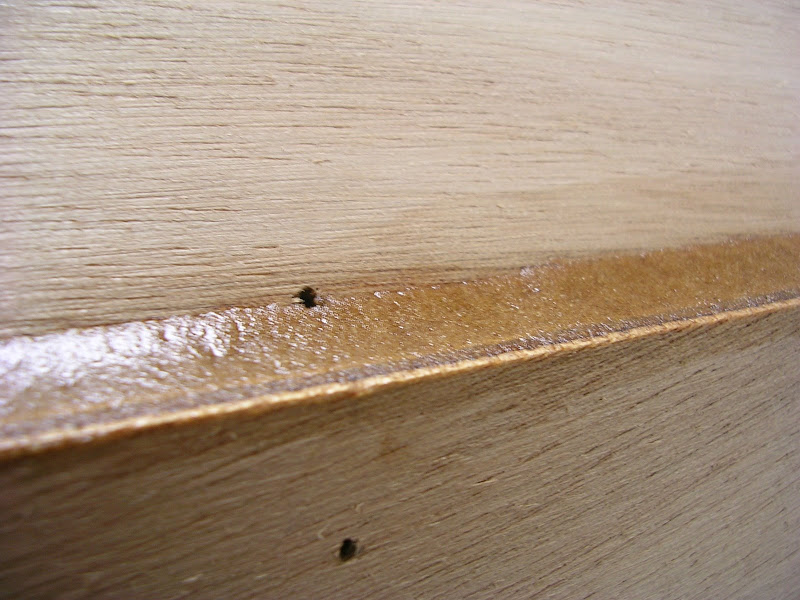
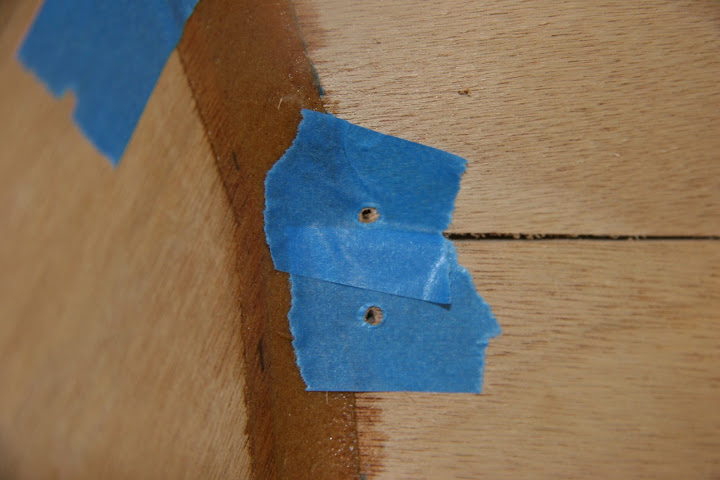
Since I wanted to fill the wire holes on the inside before I fiberglassed the bottom (especially the wire holes on the bottom), I began prepping for that in addition to getting ready for the final transom fillets. I stole a trick from "Kayaks You Can Build: An Illustrated Guide to Plywood Construction" by Ted Moores and Greg Rossel, and drilled a bunch of 1/8" holes in a roll of masking tape. I then tore off pieces of the tape and placed the piece over a wire hole to be filled, centering the 1/8" hole in the tape over the 1/16" wire hole. This was in hope of reducing the amount of sanding needed. I wish I had done that with the outside holes.

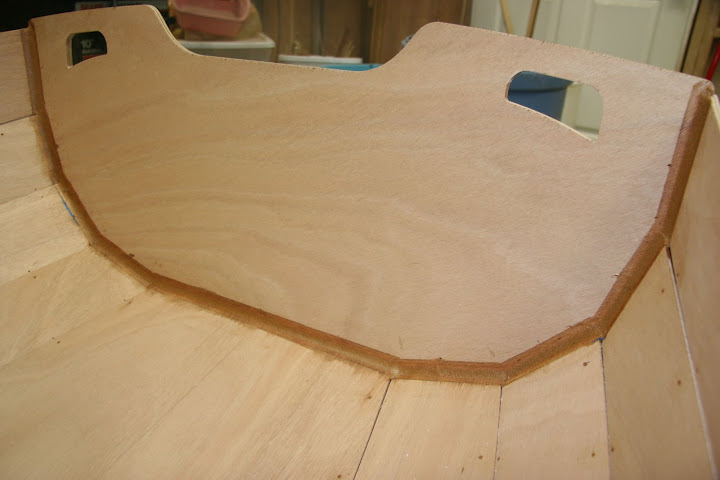
Next step was to lightly sand the tabs and wipe the area down with alcohol. Then it was time to add the final fillets to the transoms. I mixed up a batch of epoxy thickened to "peanut butter" consistancy - 3 pumps of goo, 8 spoonfuls of wood flour, 2 spoonfuls of silica and 1 spoonful of microlight. I loaded it into a freezer ziploc back (outside out this time!) and clipped off a corner. I squeezed out a line of the epoxy putty along the transom joints. I took a plastic putty knife that I cut down to a width of 1" (with a 1/2" radius curve) and spread the putty along the joint. This was much easier than adding the tabs because the wires were gone. Once I was happy with the fillets, I turned my attention to the wire holes. I squirted a dab of putty using the the ziploc back onto each of the masked wire holes. I took a gelato spoon and forced the putty into the holes and scraped away the excess epoxy putty. By this time, the epoxy was starting to set and I was racing against time to get all of the holes finished before it was too late. I managed to do it.

The second to final act for the night was to pull all of the tape. The tape along the fillets didn't take very long, although I had some trouble with it since I had taped it before adding the tabs and the epoxy from the tabbing had glued the tape down.
Pulling the tape off of the wire holes took nearly forever. This was because I was doing it with gloves on and I had trouble getting the tape up and when I did I had trouble getting the tape off my gloves and into the trash can. Plus there were about a million holes. Or so it seemed.

On the other hand, the trick worked great:
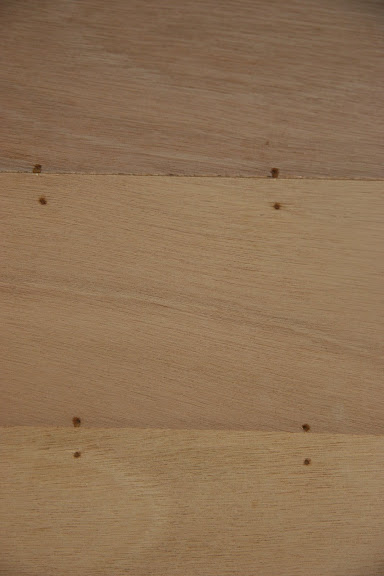

The final task for the night was to run my gloved finger, wetted with alcohol, along the tabs to smooth them out. I also pressed down on each of the wire holes for good measure.

Today:

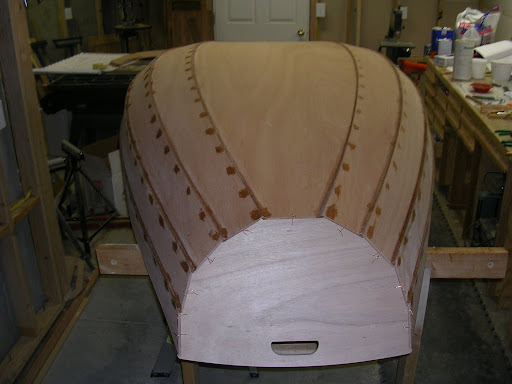
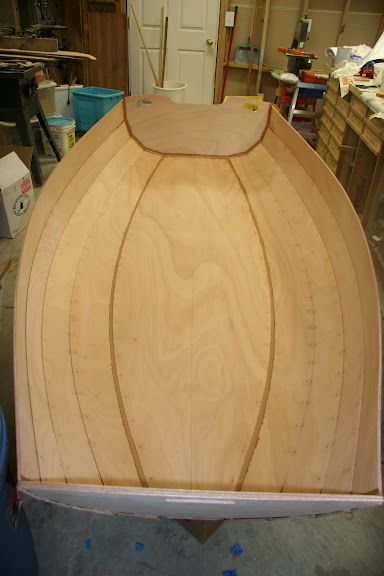
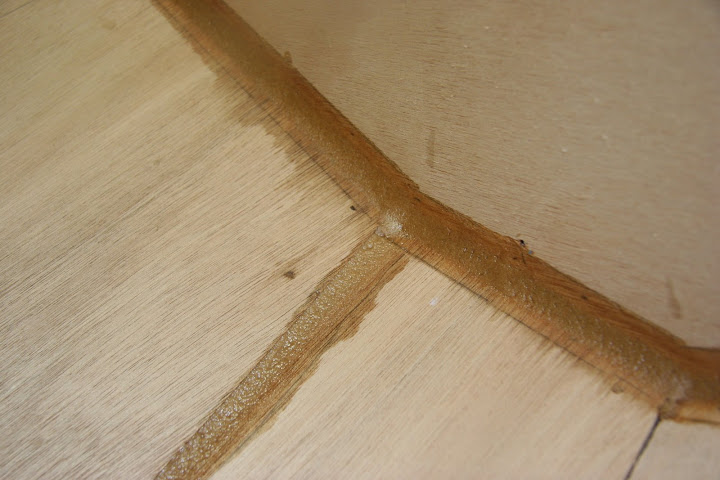
Time for the bottom fillets. I prepared a 2" wide plastic putty knife by cutting a 1" radius curve on the end of it. I placed this curve on the bottom-to-first-side-panel joint and marked where the knife touched the first side-panel along both of the joints. I then masked both sides of where the fillet would go. I also masked the gap between the 3rd and 4th panels at the stern. And for the fun of it, I masked the wire holes in the transom and the last few panel holes that had been masked when doing the transom fillets. I cleaned the intended location of the bottom fillets with alcohol and then wet it down with unthickened epoxy.
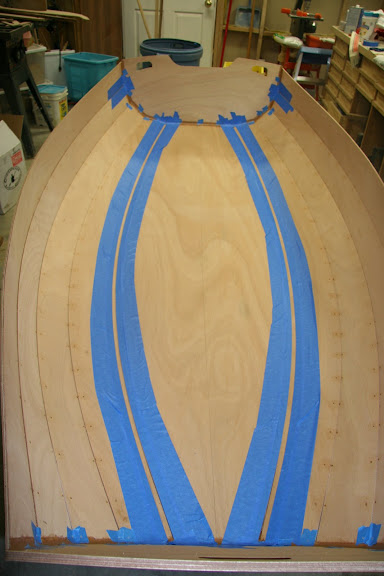

I mixed up another batch of "peanut butter" epoxy. I thought that the exising fillets were a little too dark compared to plain epoxy on the okume so I modified the recipe a little: 3 pumps of epoxy, 8 spoonfuls of wood flour, 2 spoonfuls of silica and 2 spoonfuls of microlight. I should have known better not to experiment with such a visible fillet, but since when have I thought before I've acted? This putty was much smoother than the previous batch. It was definitely lighter.

Same drill: load it into a ziploc bag, clip the corner, extrude the putty along the fillet joints, and smooth out with the rounded putty knife. I filled the wire holes and the gaps between the side panels at the stern. Lastly, I pulled the tape, which went much faster than the night before.

I have to say it looks pretty good. Except for the color. Hmmm. Definitely lighter than the okume. Rats. Now that I look closely at it, the transom fillets aren't really darker than the okume, just a different shade of brown. The extra spoon of microlight in my latest batch of epoxy made it too tan. Oh well, it still looks good.
Monday, January 15, 2007

Tabbing

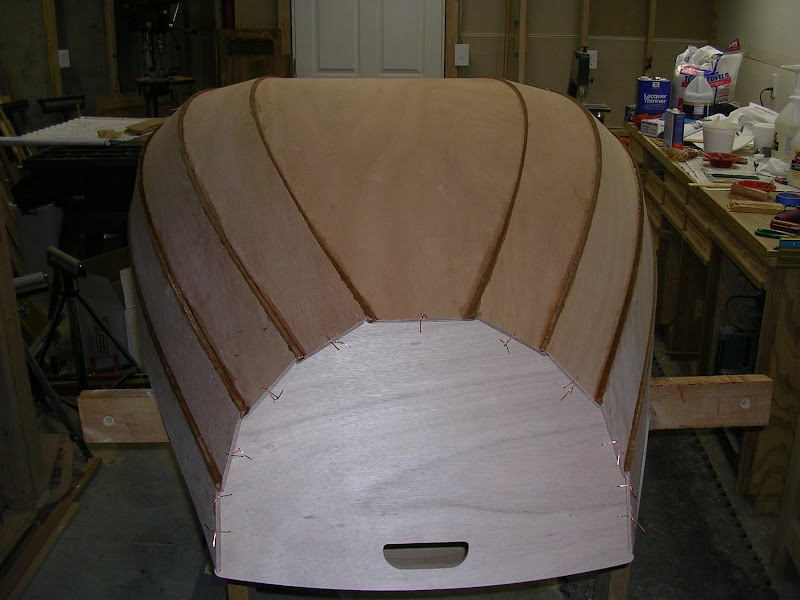
The next step was to "tab" the transoms to the rest of the hull. The instructions do not call for this, they just call for fillets to be added between the transoms and hull. The instructions don't talk about what to do with the wire stitches holding the transoms in place. The CLC website suggests that the wires merely be pushed down and the fillet added on top of them. The wires on the outside would then be cut flush to the wood. I didn't want to do this for two reasons. First, because of where I drilled the holes for the stitches, I wouldn't be able to make a smooth fillet over the wires. Second, I didn't like the idea of bits of metal showing on the outside of the transoms, which I'm planning on finishing bright.
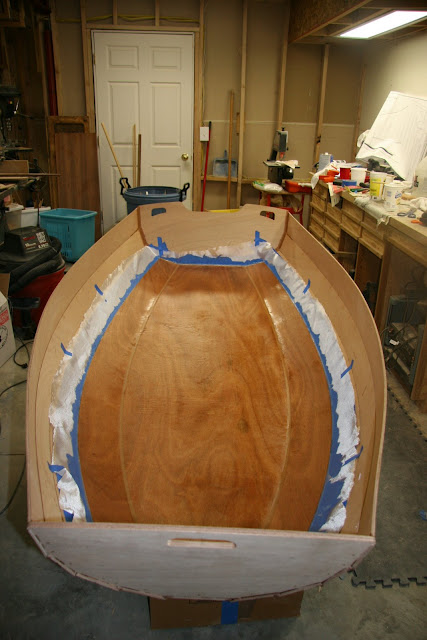
So what I'm going to do is to tab the transoms in between the wires. A tab is basically a "mini-fillet" that will be covered by the "real" fillet later. Once the tabs are dry, the wires can be removed and final fillets added.

Step one was to flip the boat over. My sawhorses were too tall to allow working on the inside of the boat comfortably, so I set it on a couple of cardboard moving boxes. There was still a small gap between the bow transom and hull, so I tightened up the wires a bit.

Step two was to add masking tape prior to adding the tabs. This was to make clean up easier. I've realized that an hour of taping before gluing is much better than a couple of hours of sanding after gluing. My final fillets will be smoothed with a one inch wide stick with a half-inch radius semi-circle cut and sanded on the tip. So I marked a line 1/2 of an inch from the seam on both sides. My tab will be smoothed with a 3/4 inch stick, so I marked another line 3/8 of inch on both sides of the seam. I layed masking tape down on the 1/2 inch lines and then another line of masking tape down on the 3/8 inch lines. At this point, I was ready for epoxy.


Step three was adding the tabs. First, I mixed up a two-pump batch of epoxy. Before I added any fillers to this batch, I applied the clear epoxy to where I was going to add the tabs with an acid brush. I then added my fillers to the remainder of the epoxy. I used 5 spoonfuls of wood flour and 2 spoonfuls of silica and no microlight. I was going for "strong" rather than "sandable" for the tab-fillet. I loaded this mess into a ziploc freezer bag. To do this I placed the bag in a big cup I had and folded the top of the bag over the sides of the cup. This made it easy to pour the epoxy mixture into the bag with little mess. Unfortunately, for some reason, I turned the bag inside out before I placed it inside the cup! I didn't realize my mistake until I had added the epoxy. Oh well, it still worked, even if I couldn't actually close the bag up. I clipped off a corner of the bag and then proceeded to lay down a line of the goop along the seam between the wire stitches. Once it was all down, I used my 3/4 inch wide stick to smooth it out and form a nice concave fillet. After all of the tabs were smoothed, I pulled the tape on the 3/8 inch lines.


I'm glad I added these tabs for one additional reason: It was a test run of the adding the real fillets. It's very likely that the final fillet will cover any mistakes I made with the tabs. As it turned out, the epoxy mixture for the tabs wasn't thick enough to be easily smoothed with the stick. I will add more wood flour and microlight for the final fillets.

Sunday, January 07, 2007

Filling Holes

For my next step, I decided to fill the wire holes on the outside prior to flipping the boat back over. I used this as an opportunity to experiment with the fillet mixture. I had asked for advice on the CLC web forum. The consensus seemed to be 90% wood flour, 10% silica. My latest mixture was 2 pumps of resin and hardener, 5 spoonfuls of wood flour, 1 spoonful of silica and 1 spoonful of West microlight. The texture was a little smoother than pure wood flour, but still not what I'd call silky smooth. The color, however, seems to be a pretty good match for epoxy coated okume. I'll wait for it to dry before comparing and taking photos.

For filling the holes, I used a sample spoon a local gelato shop gives out. It was basically a minature teaspoon. I was the perfect shape and size to fill the holes. For scraping the excess epoxy away I used another gelato spoon, this one had a flat front, like a coal shovel. I was able to scrape around the holes pretty well. Hopefully, it won't require much sanding.


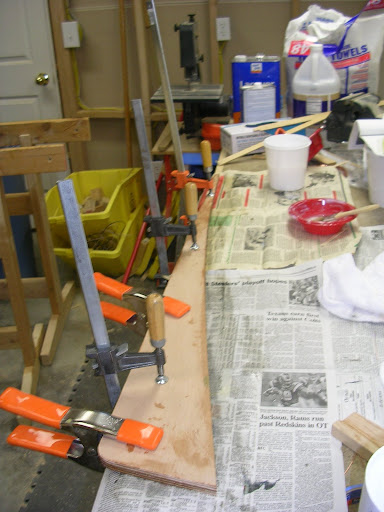
I had a little time left over, so I glued together two plywood pieces to form the laminated skeg. I mixed up some unthinned epoxy and coated the surfaces to be glued. I then added silica until it was "mustard" consistancy. I added the thickened goop to one side and clamped them together on top of my newpaper covered workbench. What a mess! I need to get some polyethylene plastic film before I do any more of this.

Tuesday, January 02, 2007

Fairing the bevels

OK, I think I managed to recover from my panel-gluing debacle yesterday by fairing them to a consistant level.


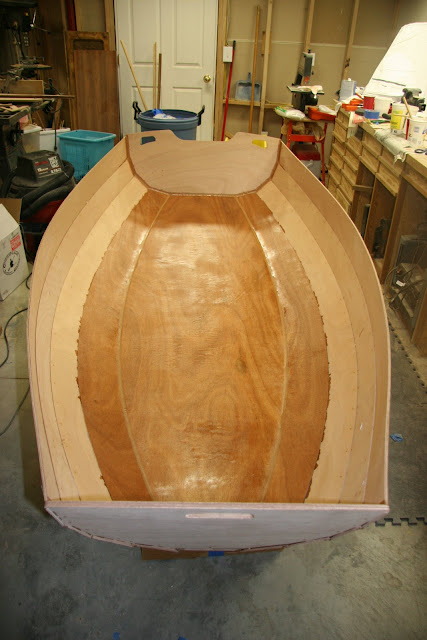
I mixed up glue and thickened it to "peanut-butter" consistancy (3 shots of resin and hardener and 8-9 heaping spoonfuls of wood flour). I put this into a ziploc freezer bag and clipped off a bottom corner. I squeezed a line of the thickened epoxy out onto the existing glue line. I then used a putty knive to smooth out the bevels. It took about 2 hours and 2 batches of epoxy to do all eight glue lines. It went much better than I expected (I now have very low expectations when working with a seemingly irreversible step like epoxy). I also used a trick from the instruction manual: about 3 hours after I finished with the first set of four glue lines I wet my glove with denatured alcohol and smoothed the newly-faired bevels. This worked well, and even better on the epoxy that had only 2 hours of cure time.


So, over all, I'm happy with the result. I'm not super thrilled with the consistancy of wood flour thickened epoxy. The denatured alcohol trick helps, but it still has rough texture that will require sanding. I would prefer a thickening agent that doesn't result in such a difficult texture. I hear microlight works well for fairing, but I don't know if it will be strong enough for the non-taped fillets that need to be added (transoms, bulkheads and seats). I don't know if microlight is weaker than wood flour or not. The West System has a "filleting" mix that sounds promising, but if it is going to be difficult to sand then I'm not so sure. I'm going out today to buy some of these thickeners and do some tests.

I've also been thinking about when and how to fill in the holes where the wires went. The instruction manual doesn't talk about this, although it has a photo of it at the prep point for the finish (varnish and/or paint). It seems to me any holes under fiberglass need to be done before the fiberglass goes on. Since fiberglass goes on after the transom and bottom get their fillets, this is sooner rather than later. Filling holes isn't a structural issue, so using microlight might be the best answer.

Saturday, December 30, 2006

Glue recovery

Today, I pulled the wire stitches out and scraped away the high spots on the glue lines.

Pulling the stitches went a lot better than I was expecting. Since the epoxy was touching over half of the stitches, I assumed it was going to be difficult to pull them. So I clipped all of the wires from the inside and got a heat gun ready to go. It turned out to be a non-issue. They all came out without needing any heat to soften the epoxy. I only had to tug hard on less than ten of them.

With the wires out, the next step was to remove the high spots from the uneven epoxy glue lines. My plan is to remove the high spots and then fair the "chines" with thickened epoxy (thickened with wood flour). This will hopefully result in a flat bevel between the panels. So how to remove the high spots? I started with a paint scraper, which worked, but was hard going. It also tended to scratch the wood more than I liked. Then I discovered that a metal file worked great. I hope the epoxy is cured enough to prevent sensitization issues since I got flakes of it all over myself. Another thing I did, which I should have done with the first epoxy debacle, was to add masking tape above and below where I want my bevels to go.


So, at this point, I should be ready for fairing. Wish me luck!

Thursday, December 28, 2006

Glue, Glue Glorious Glue!

Do I have a boat or a pile of scrap wood in the shape of a boat?

That was what I was asking myself after I was finished gluing the panels together.

It started out OK. I got everything in order. I bought some extra syringes to practise with. I bought laquer thinner and denatured alcohol have on hand. I donned a respirator mask and nitrile gloves. I changed gloves whenever I noticed any epoxy on them at all. This way I didn't smear the glue all over my shop, my tools and the boat.

Step one: Practise. I screwed the pumps into the bottles of epoxy resin and hardener. I primed them and tossed out the first squirt that came out of each, since these weren't metered. Next I added two pumps of each into a disposable plastic bowl. I mixed well then added four spoonfuls of thickener (silica). I was shooting for the thickness of "thin mustard." What exactly is that? I played with it a bit and tried using it with a syringe on some scrap wood.
Step two: Add masking tape to the inside seams at the bow and stern to try to contain any drips.

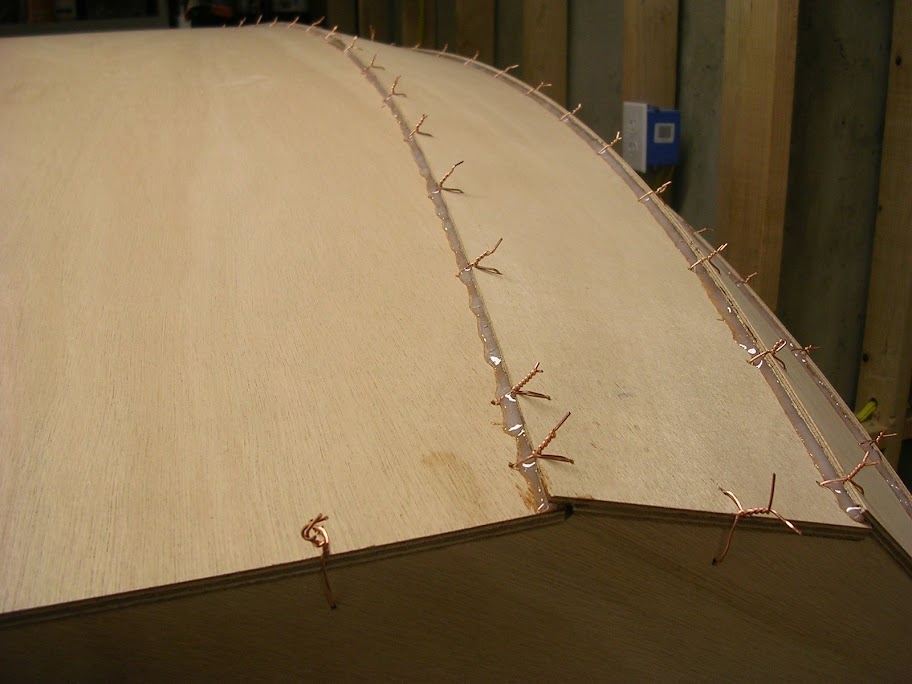
Step three: Start gluing for real. This step should have been "Think", but I was nervous enough about this whole gluing thing that I was worried if I stopped to think, I wouldn't start again. So I mixed up another batch. Two pumps apiece. Five spoonfuls of silica. Mix well. Is it thick enough? Load it into a syringe. Close eyes. No, wait, better leave them open. Start injecting the thickened epoxy into the "lapstitch" joints. It was hard to apply it evenly so it had a consistant level, but it seemed to be working. I checked underneath - no drips. After mixing and using another batch, and gluing up four joints, I took a half-day break.

When I returned this morning, my previous work had set. I still don't know how long it will take to cure. I made two more batches and glued up the last four joints. I had half of a batch left. With this I went over yesterday's work and added glue to places I had obviously missed or where I hadn't added enough glue.


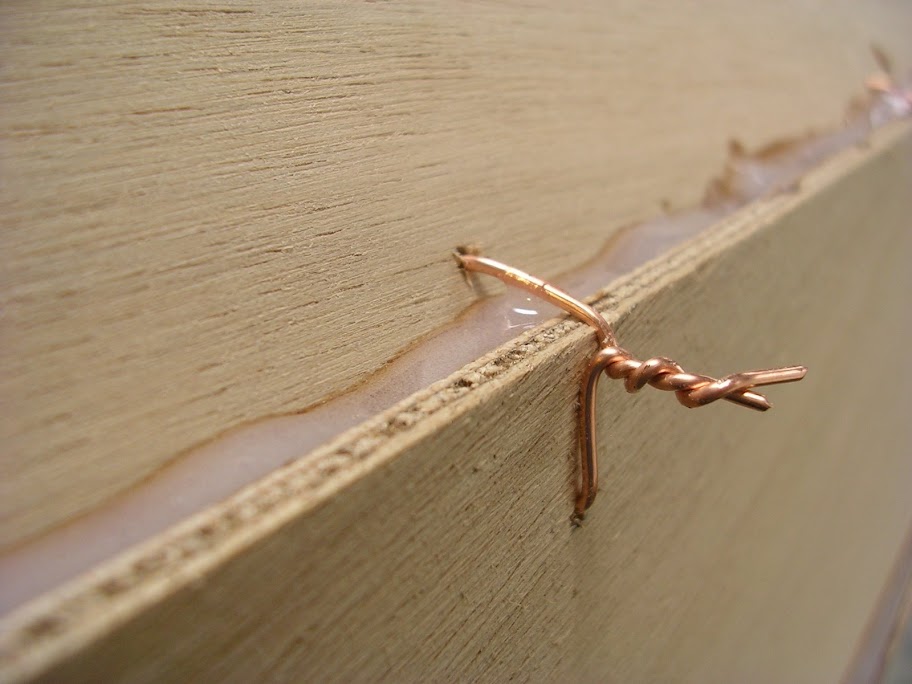
I saw three things that concerned me. First, the glue was adhering to the wires. It was supposed to flow underneath them without touching them, but at least half of my wires were attached to the glue in the joint beneath them. Second, the joints I had done yesterday were "lumpy". They evened out somewhat but were definitely uneven. Third, at the ends I could see that the epoxy hadn't completely filled the joint at the bottom. The area to be filled looks like a triangle in cross-section. They glue hadn't filled the very bottom of the triangle.


Looking back (I always do my best thinking in hindsight), I now realize that I added too much thickener to my epoxy. I guess I had "mayonaise" and not "thin mustard". Thinner epoxy would have filled in the joint more completely and "self-leveled" better.

What to do? I could only think of one thing to do. Panic.

So I began to panic, convinced that my boat was completely ruined. I was worried about the cosmetic damage of the lumpy seams, but I was even more concerned that the joints were too glue-starved and that I had done structural damage.

My wife calmed me down and suggested I call CLC for advice. So I gave them a call. They are really going to regret providing me with free technical support by the time this boat is done. I describe my woes to one person, who thinks the boat is still OK, but he has me talk with someone who I think was John. He assures me that it isn't ruined. I will have to sand out the high spots in the seams, but he says I would have had to fill in the low spots with epoxy thickened with wood flour anyway. As far as structural issues, he didn't think I had any, but if I wanted, I could try injecting unthinned epoxy from the inside once the boat was flipped back upright. Good thing I still have a syringe left over.

Bottom line: I think I still have a boat and not a pile of scrap wood and epoxy.