Monday, January 21, 2008

Mast Step and Transom Doublers

Tonight, I glued in the mast step and transom doublers. Before doing so, I had to sand the edges of the doublers to conform to the fillets between the hull and transoms and seats. I also had to adjust the forward edge of the mast step to conform to the fillet at the base of the bow bulkhead and to the angle between the bulkhead and the bottom panel.

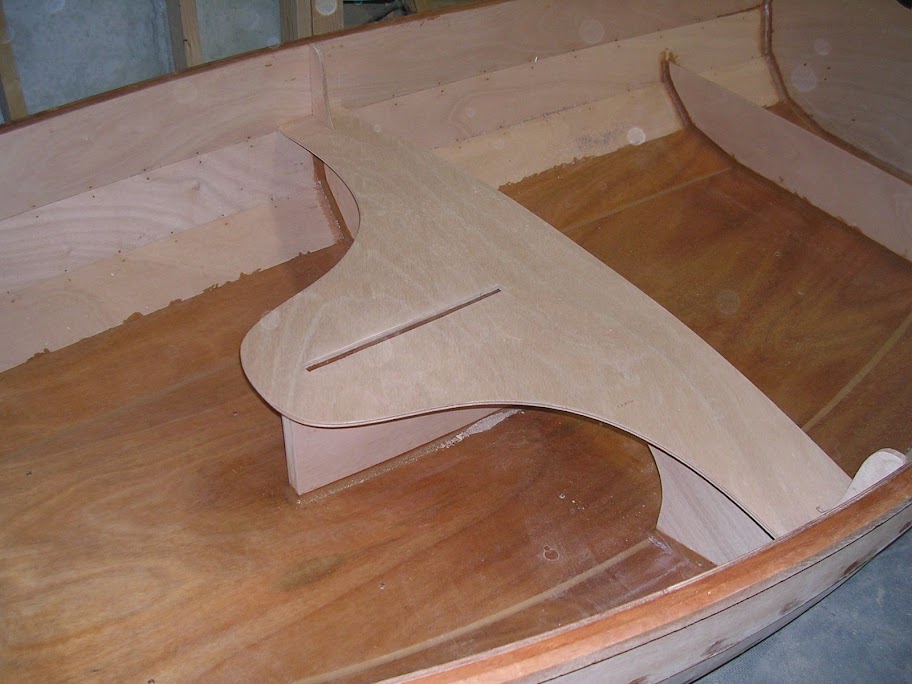
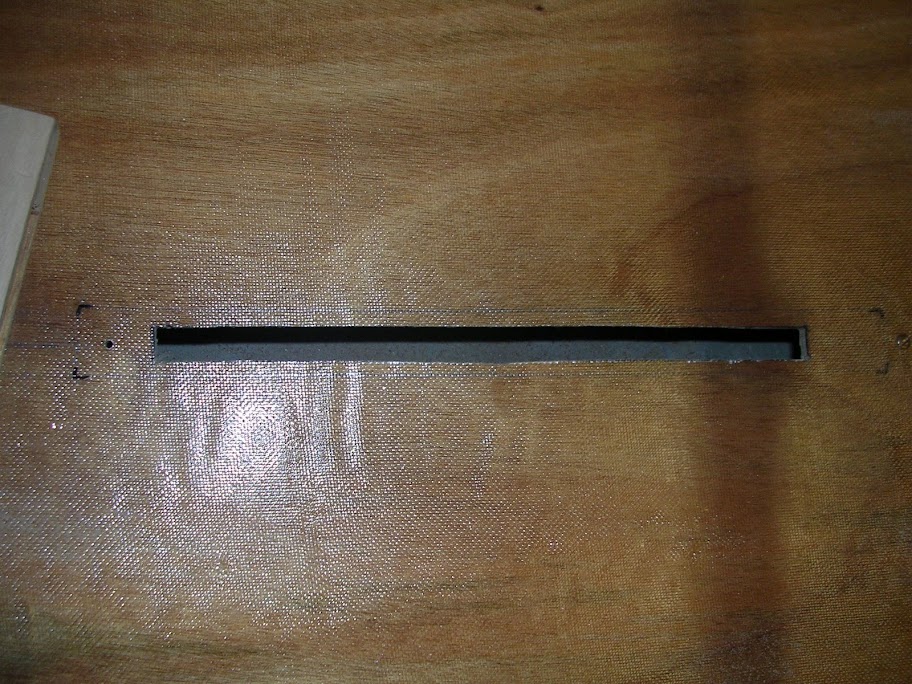
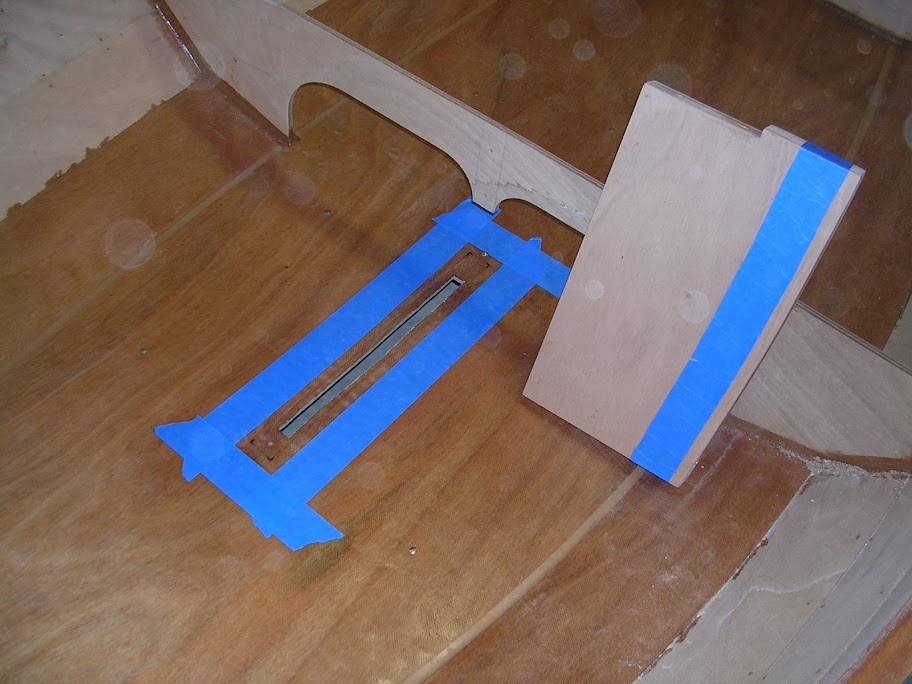
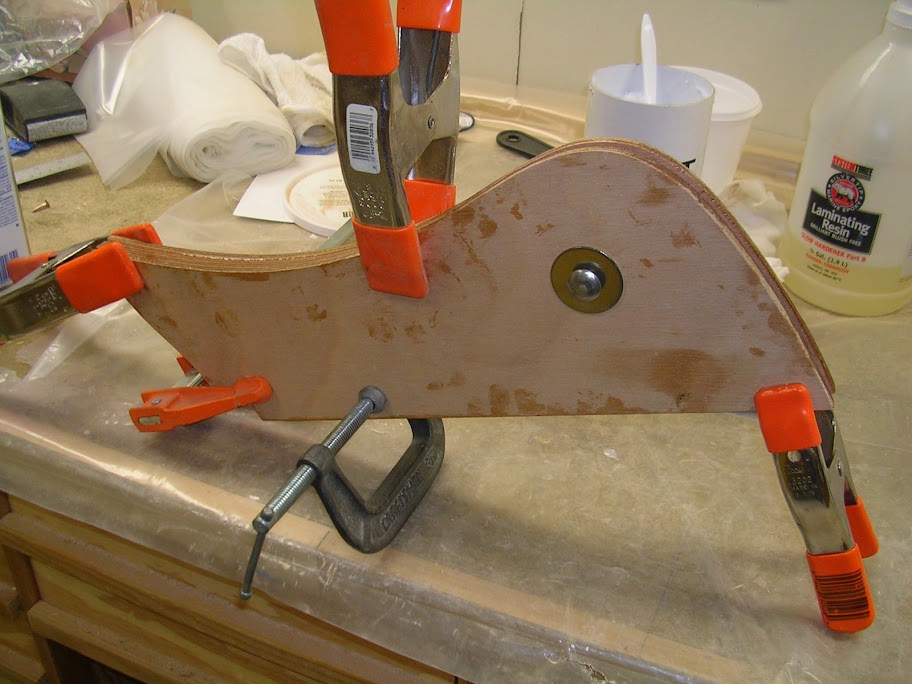
Once I got the mast step to fit, I carefully marked where it needed to go (using a combo square) on the bottom panel. I drilled four holes from inside to outside. I then taped the step back into position and used a piece of wood to hold it securely. This allowed me to tip the boat on its side so I could pre-drill back into the step from the outside.


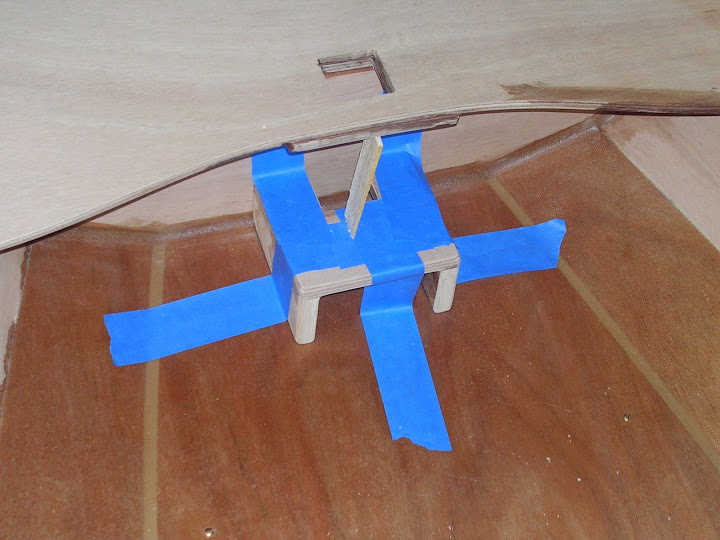
Now I was ready to glue. I mixed up a 2-pump batch of bonding mixture. First I glued the step into position, added the wood "clamp", tilted the boat, and screwed the step down. It even stayed in the proper position!

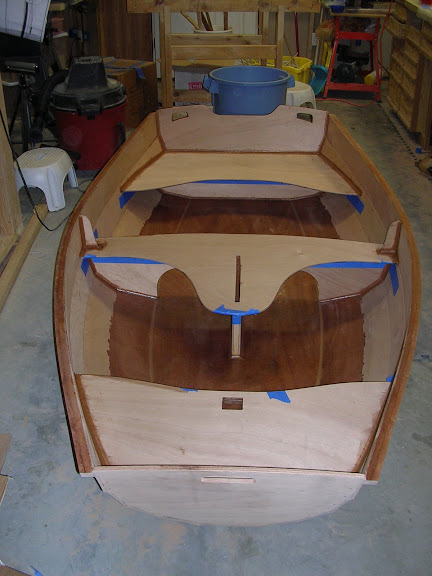
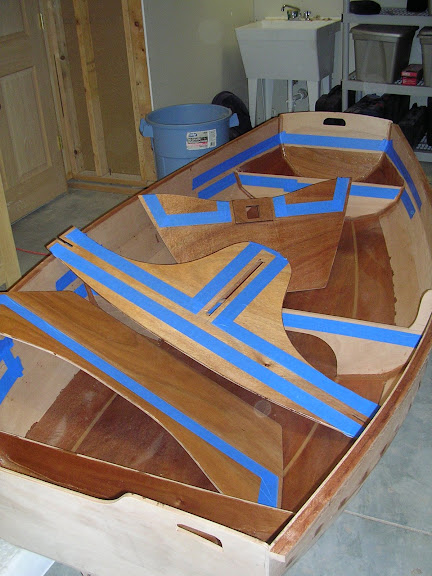
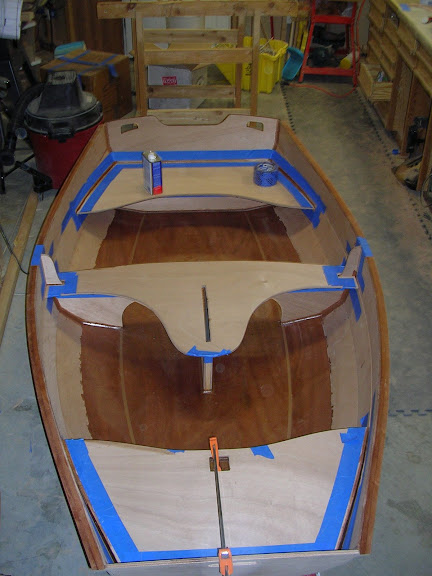
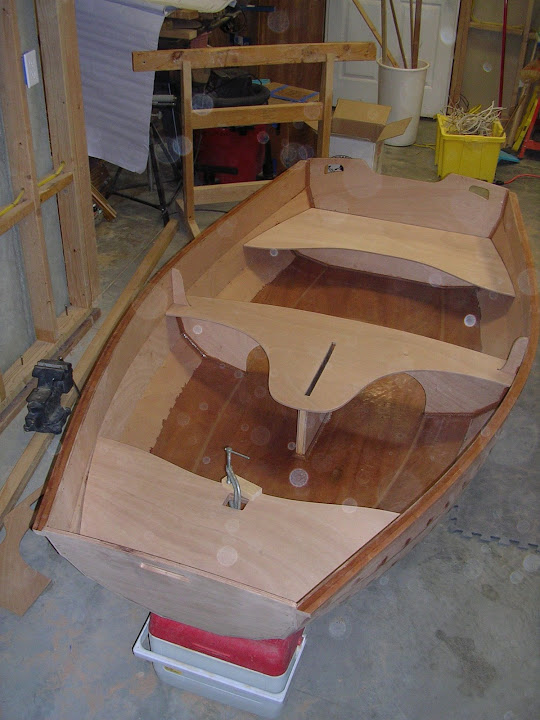
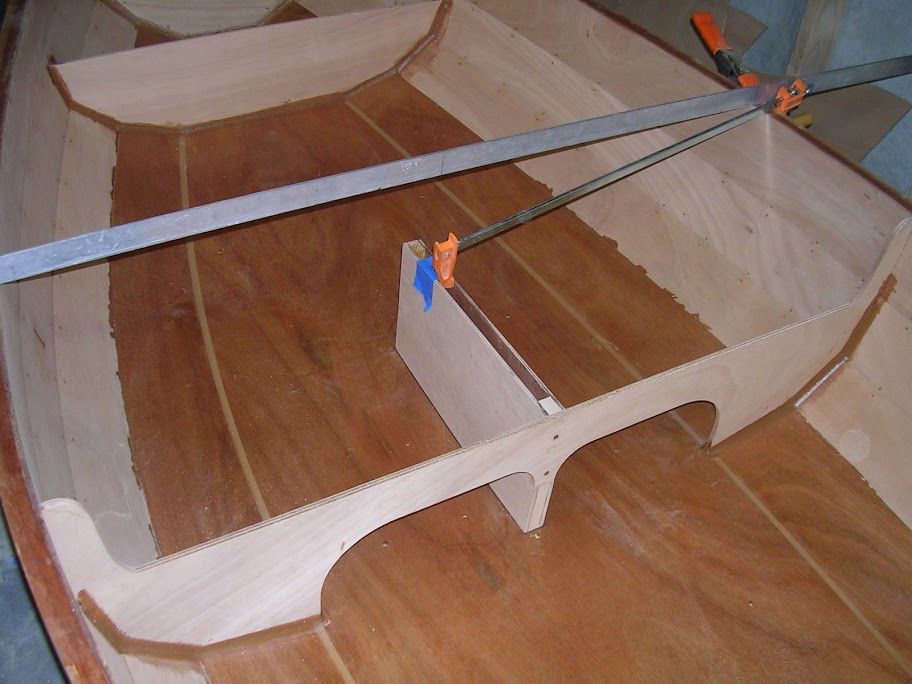
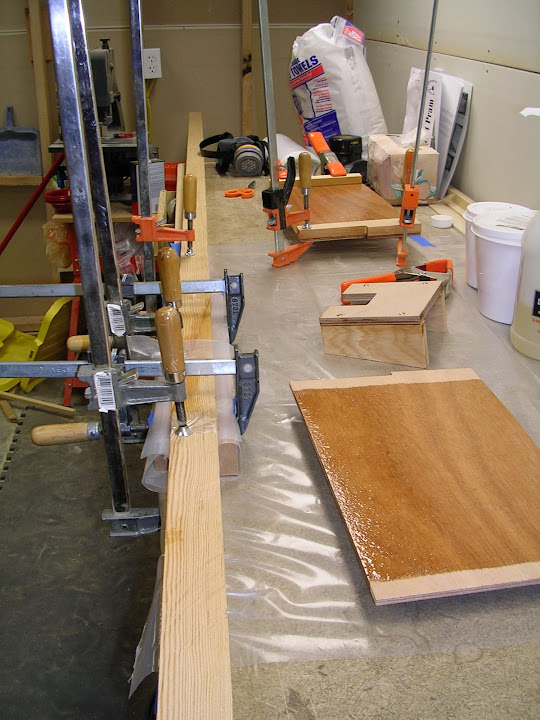
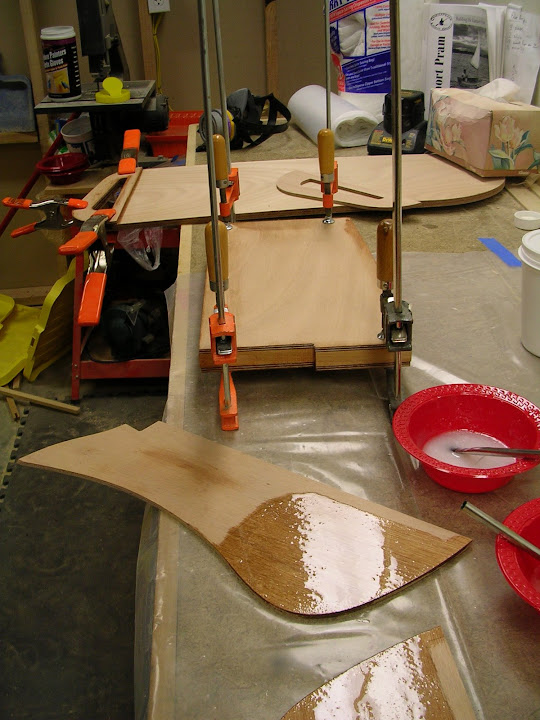
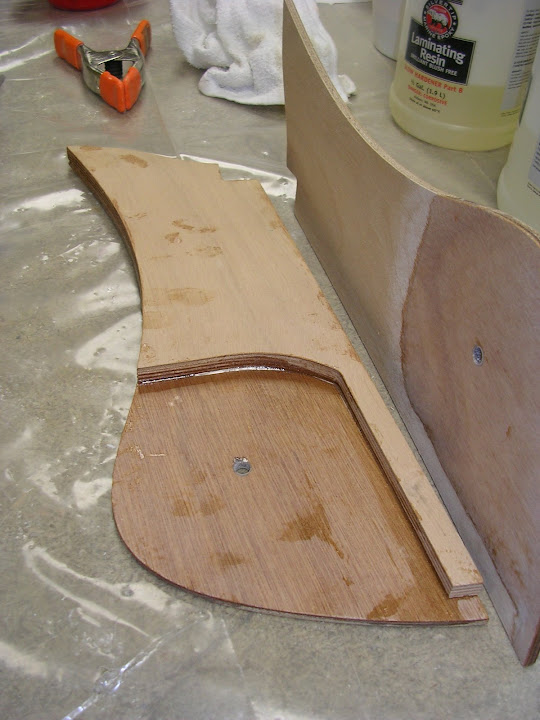
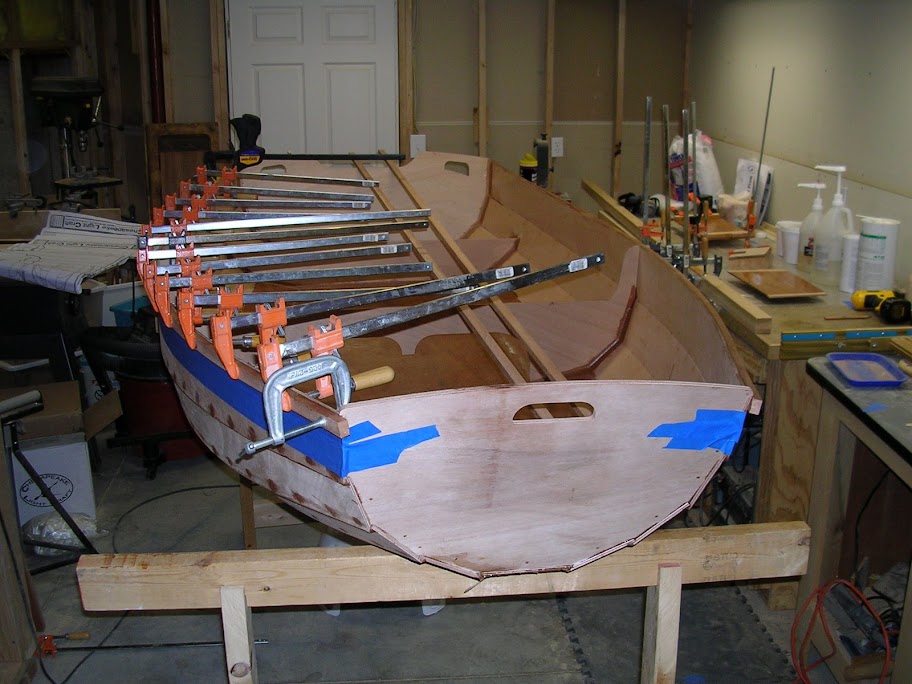
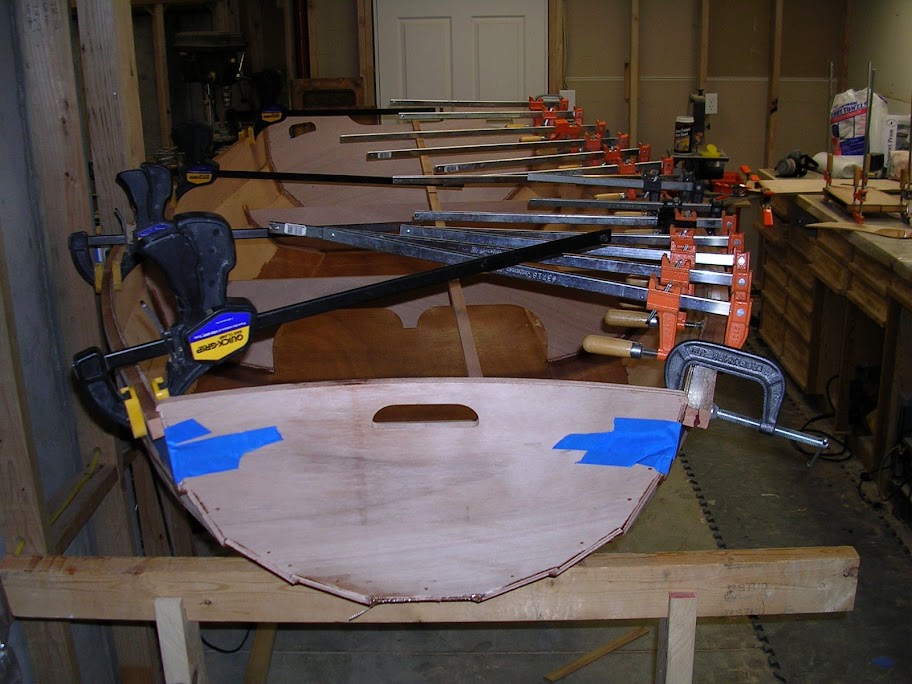
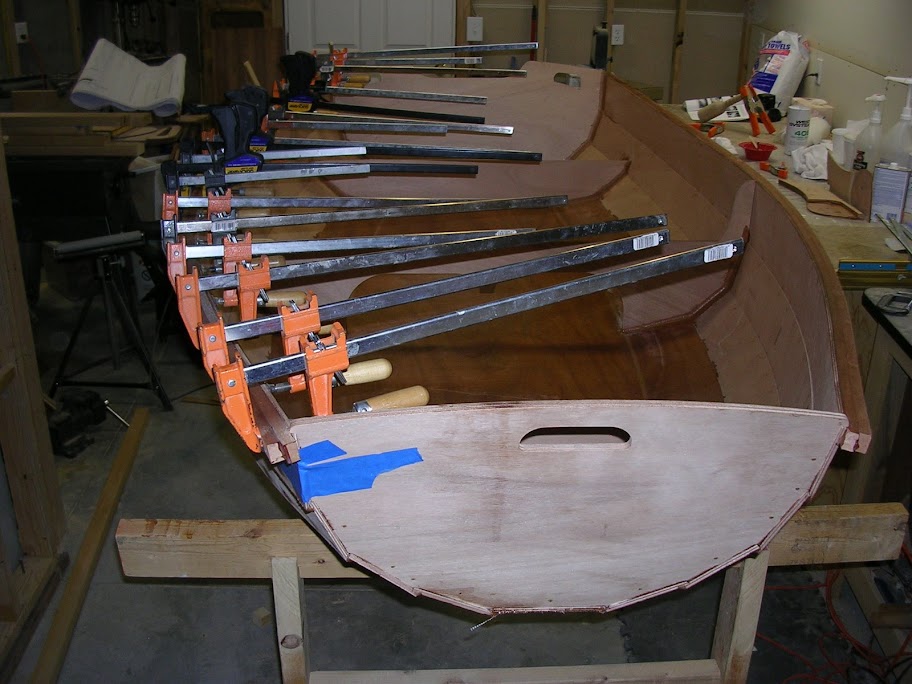
Next I glued the doublers into position using a lot of clamps. I used another long piece of wood wedged between the centerboard trunk and the bottom of the stern doubler to hold it into position (since I didn't have any clamps that had long enough jaws to reach that far).


Next I'll add fillets to the mast step and fill in the gaps around the doublers. I'll also fill in any remaining suture holes on the inside of the hull.

Sunday, January 20, 2008

Seat Fillets (Part 2)

I finished filletting the seats today. What a pain.

I flipped the boat over and put it on sawhorses. This way I could sorta stick my head inside and add the remaining fillets without too much trouble. It still was cramped and I should have added some extra light to see what I was doing. At least it will be hard to see what kind of a job I did.

It took 3 batches of epoxy to get it all, plus a fourth batch after I realized that I had made the third too "dry" by adding too much wood flour. That last batch, which had less flour than any other I've made recently, went on very smoothly.

I had some of the mixture left over, so I filled the remaining suture holes on the outside of the hull (using the "drilled roll of tape" method).

Next up: adding the transom doublers and the mast step. That will be the last of components to add to the pram. After that: sanding, epoxying, more sanding, varnishing and painting (oh, and probably more sanding).

Saturday, January 19, 2008

Seat Fillets (Part 1)

I started out the day not having decided whether to do the fillets in one pass or two. I decided to see how it went. So I added masking tape everywhere needed (I had to pull some of it off yesterday so it didn't get "bonded" to the boats along with the seats) and made up a batch of my fillet mixture. I realized that one batch wasn't going to go too far - only the forward seat and half of the middle seat, and this was only the top. I made up another batch and finished the fillets on the middle and aft seat tops.

At this point I realized that I wanted to tip the boat on its side to make adding the fillets under the seats less of a pain. Since I didn't trust that the initial bonding on the seats would hold, I figured I needed to wait for the initial set of fillets to set.

Good thing too, since I realized that I was almost out of wood flour. There wouldn't be enough to complete all off the fillets. Fortunately, we have a Woodcraft store near us that carried System 3 epoxy, and even better, the same System 3 wood flour I had been using.


Here's a look at the freshly installed top fillets. It looks a little sloppier that it is because the alcohol I used to smooth out the fillet hasn't dried up yet.

Gluing the Seats

I bonded the seats in yesterday.

Here are the seats after sealing with epoxy and partial sanding. Note that I've added masking tape in preparation for filletting.


After seeing how hard it was to keep the seats in the right position, I decided to to bond the seats as a separate step before adding the fillets. I made my usual bonding mixture, coated the edges and put the seats in. I had to add some weights and clamps to get the seats to stay put in the right position. I carefully checked for drips, but there weren't any.


Here it is immediately after gluing.


Here's a close up of the forward seat after the epoxy set.

Monday, January 14, 2008

Prepping the seats

Tonight, after sanding them, I coated the underside of the seats and the sealed areas they will create with a thin layer of epoxy. I tried a technique suggested in the Moores and Rossel book: after letting the epoxy sit on the plywood for about 30-45 minutes, squeegee off the excess epoxy. The idea is to create a thin layer of epoxy without any bubbles. Since no-one is going to look at the underside of the seats, I thought I'd experiment with this technique there.

Next up: gluing the seats in. I haven't decided whether to glue the seats in and fillet in one pass, or to bond first, then fillet. I'm leaning towards the latter mainly because the forward and aft seats (thwarts?) don't want to stay in their proper position. I'm worried that adding the fillets will cause them to shift, especially when working upside down inside the boat. I may even choose to fillet in a couple of passes too. One pass to do the top fillets and another to do the underside ones (perhaps even turning the boat on its side or upside down).

Stay tuned.

Sunday, January 13, 2008

Fitting the seats

I've caught up with my blogging!

Today, I fitted the seats.

The middle seat was the easiest - it just fit. I carefully cut a slot for the daggerboard.


The other two required some work. I found the position for the forward seat by clamping the mast doubler into place. The plans showed that the front part of the double had to touch the bulkhead. So I sanded the seat and tilted it to the right position so it did.

The aft seat required the most sanding, but finally I got it into position.

I ended the day by bonding the mast doubler to the forward seat and starting to tape in preparation for gluing and filleting the seats.

Adding the daggerboard trunk

Only one day behind now!

Next, I glued the daggerboard trunk to the hull, in front of the middle bulkhead. It required a bit of sanding to get it to fit properly. The curve on it matched the bottom perfectly, but it was an 1/8 inch too tall.

Once I got it to fit, I put it into position and screwed it to the bulkhead. It wasn't parallel to the centerline of the boat, so I used a clamp to hold it in the right position.


Here it is in the correct position. Note the metal piece I used to find the center of the boat.

Now the scariest part of building the boat so far: cutting a slot for the daggerboard in the bottom panel. I marked the position of the trunk and removed it. I measured carefully and marked where to cut. I drilled a couple of holes to start sawing. I wound up using a drywall knife to cut the slot. It worked pretty good, although I'm terrible at cutting a straight line.

Here's the slot I cut.


Masked and ready for gluing. The plans called for just gluing the trunk down with the fillet mixture. I decided that I was more comfortable with using a bonding mixture first, then adding the fillet (I did this on the skeg and skids as well).


The final result.


After I bonded the trunk down, I had epoxy left over, so I finished up the rudder cheeks.

Skeg and skids

Hey, only 4 days behind on my posts!

Next up was gluing on the skeg and skids. The skeg needed a bit of sanding to fit flush to the bottom of the hull. Next I marked it's position and (gulp!) drilled holes into the bottom to allow the skeg to be screwed on. The plans say to start gluing at this point. Since it's obvious by now that I'm taking my time on this boat, I decided to pre-drill the skeg so there would be less of a struggle to position it when it was covered with wet epoxy. So I clamped it into position and drilled pilot holes into the skeg from inside the boat. I did the same for the skids (after sanding them to the right shape). When they were still screwed, but not glued, to the boat, I masked the area for the fillets.


Here they are, ready for gluing. I made a slight mistake here prepping for the skeg fillets. I used the filletting tool to mark the proper position for the tape. Unfortunately, I used the fillet tool I made for the bottom panel and not the 1/2 inch radius tool I meant to use. This wasted a lot of epoxy by time I realized my mistake.


However, it turned out OK.

Random gluing

The only thing I haven't glued directly to the hull so far was the skeg. As I started gluing the outwales on, I had a bit of glue left over. So I glued the mast pieces together, laminated the centerboard handles, glued up the mast step, glued up the centerboard trunk and started gluing up the top portion of the rudder.

Note my clever use of plastic to avoid gluing my mast to my workbench!


The top part of the kick-up rudder is composed of three pieces that are laminated together. The inside of the cheeks are coated with epoxy. There will be a carriage bolt that runs through the cheeks and captures the actual rudder blade in between. To avoid water intrusion into the cheeks an oversize hole is drilled into the cheeks, then filled in with thickened epoxy and finally re-drilled to the proper size.


In addition, at some point during my long absence from this blog, I sanded the proper leading and trailing edge curves into the daggerboard and rudder blade (sorry, no pictures yet).

Adding the outwales

Adding the outwales is the part that for some reason took me six months to complete. Oh yeah, summer happened. I emailed John, asking him whether I should try to laminate both of the outwales pieces on each side simultaneously, or do them one at a time. He said that if I had time, I should do them one at a time. Well, I'm not exactly a speed demon about building this boat, am I? One at a time it is.


First port (April 2007).


Then starboard (May 2007).


Then the second piece to the port (May 2007).

And the final piece to the starboard (December 2007!).