Wednesday, April 16, 2008

Epoxy Coats

Sigh. Still way behind on the blog. I'm writing about things that happened weeks ago. It would be better to write about what I did each day on the day I did it. Unfortunately, lately I've working on the boat after work and after my wife and I get the kids to bed. When I'm done, I'm so tired it's all I can do to crawl into bed.

Anyway....

After all the sanding, next up was to add two coats of unthickened epoxy.

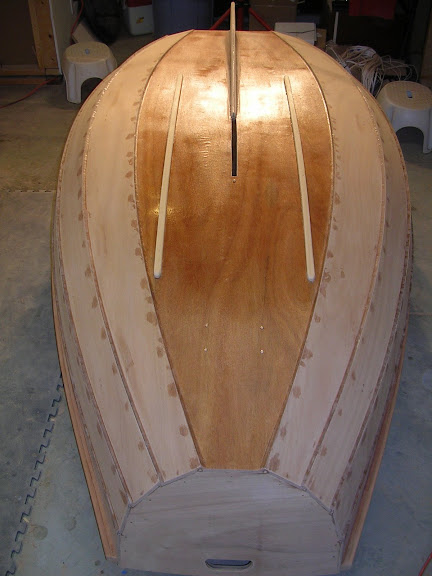
I started on the bottom, with the hull upside-down. I used a small foam roller and a small disposable paint tray. I wound up reusing the tray (but not the rollers). As usual when starting a new phase, I was a little nervous about glopping epoxy over my boat but as I got going it went smoothly. After I rolled on the epoxy, I went back over it with a 2" foam brush to remove any bubbles. I was paranoid about drips - especially on the skeg and the near-vertical panels near the sheer line. So after each coat I hovered with the foam brush. As I mentioned before, I decided not to do anything special with the first coat on bare wood. I just put on a thin coat and it looked no worse than using the scraper technique - and it wasted less epoxy. After the first coat hardened, it took me a few days to get back to working on the boat so I had to lightly sand it first. After the second coat, it appeared I had completely filled the weave of the fiberglass on the bottom.

The bottom after one coat of epoxy

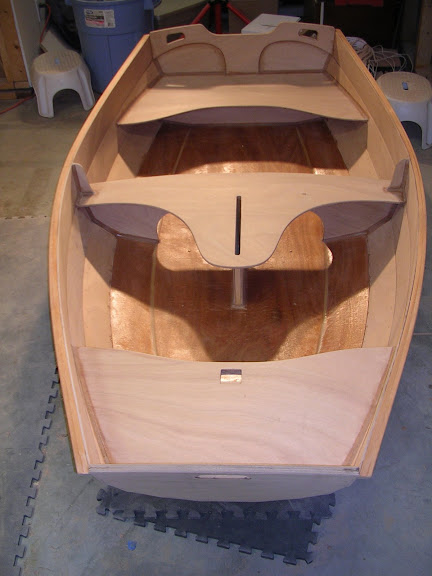
Next, I flipped the boat over and worked on the inside. It was pretty much the same drill. One coat followed by a light sanding (and wiping) and a second coat. This time, I got both coats on in sequential days, so the sanding wasn't as crucial as before. Of course, working on the inside was more difficult and time-consuming due to all of the seats and bulkheads. It was especially tricky getting all of the dust out of the longitudinal joints where the panels met. Like the bottom, it looked like I filled the weave of the fiberglass with the second coat of epoxy (actually the third coat for fiberglassed sections).

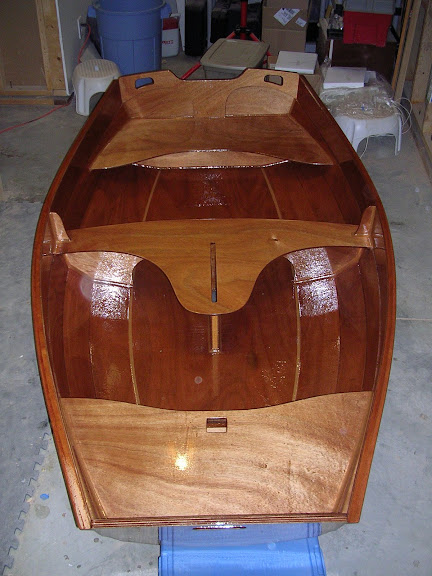
The interior after two coats of epoxy

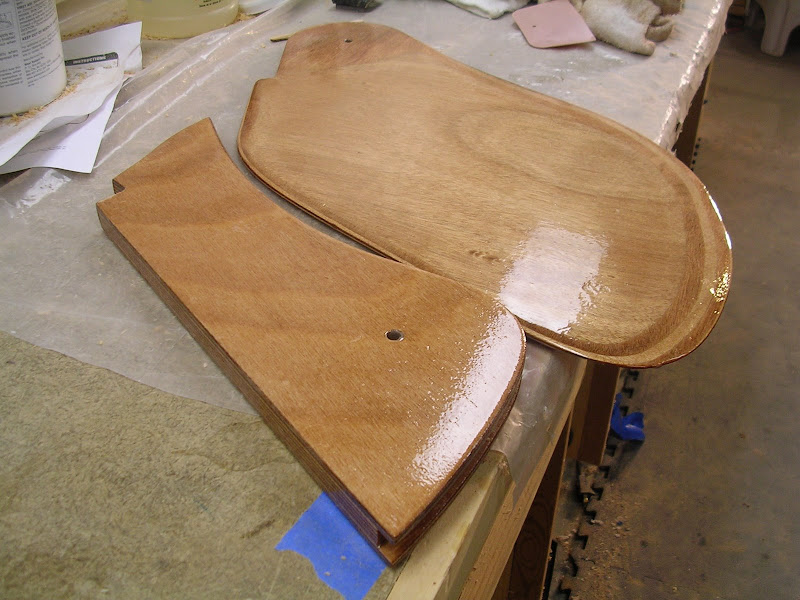
Also, during this time, I added epoxy coats to the daggerboard.


The daggerboard after epoxy coating

Now it was time to sand off most of the epoxy I just added.

Preliminary Sanding

(It's been a while since I've updated the blog. Fortunately, this time, it wasn't because I wasn't working on the boat - I just wasn't working on the blog).

Once I got done with filling holes, it was time to start sanding in preparation for the epoxy coats. The bare wood needed sanding to remove scratches and the odd drips of stray epoxy. The fillets needed sanding to smooth them out. And finally, the fiberglassed sections needed sanding to allow epoxy to adhere to them.

I started on the bottom, with the boat upside-down. It was tedious, but certainly not difficult. I hand sanded it because it was easy enough and to avoid sanding through the top plies. I started with (bulk purchased) 80 grit, moved my way into 150 grit and ended with 240 grid sandpaper.

The outside, after sanding.

I then flipped the boat over and started working on the inside. This was more tedious (and not because I was hand sanding) - there were a lot of fiddly bits to worry about: bulkheads, under the seats, etc. It was also time to deal with the large divot I put into one of the panels on the inside when the boat slipped off one of its sawhorses. I used a trick I read about in "How to Build Glued -Lapstrake Wooden Boats" by John Brooks and Ruth Ann Hill. He recommended placing a wet paper towel over the gouge and then placing a very hot iron over it. The iron causes the water to turn into steam which re-expands the crushed wood fibers. I worked extremely well, athough there will alway be a mark in that spot. But no putty or extra epoxy filler would be required.

The inside, after sanding.

At the end of the second day of sanding, the boat was ready for epoxy.

During this time, I began epoxy coating the kick-up rudder. I used the same technique for the first coat that I used for the seat bottoms: 30 minutes after putting the epoxy on, I scraped off all of the excess. After the first coat had hardened, I lightly sanded and added the 2nd coat. I have to admit that I was underwhelmed by the resulting finish. I guess I was expecting too much, something approaching a smooth varnished look. The epoxy surface was not perfectly smooth. There were bubbles (or dust) in it. Its thickness wasn't uniform. After doing this I questioned the value of scraping back the first coat.

The rudder pieces, after the 2nd coat of epoxy.