So what I'm going to do is to tab the transoms in between the wires. A tab is basically a "mini-fillet" that will be covered by the "real" fillet later. Once the tabs are dry, the wires can be removed and final fillets added.
Step one was to flip the boat over. My sawhorses were too tall to allow working on the inside of the boat comfortably, so I set it on a couple of cardboard moving boxes. There was still a small gap between the bow transom and hull, so I tightened up the wires a bit.
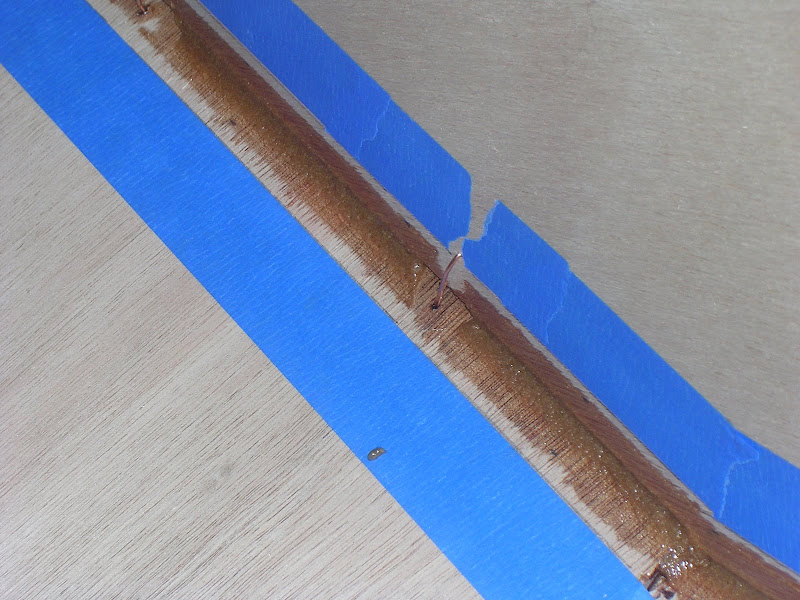
Step two was to add masking tape prior to adding the tabs. This was to make clean up easier. I've realized that an hour of taping before gluing is much better than a couple of hours of sanding after gluing. My final fillets will be smoothed with a one inch wide stick with a half-inch radius semi-circle cut and sanded on the tip. So I marked a line 1/2 of an inch from the seam on both sides. My tab will be smoothed with a 3/4 inch stick, so I marked another line 3/8 of inch on both sides of the seam. I layed masking tape down on the 1/2 inch lines and then another line of masking tape down on the 3/8 inch lines. At this point, I was ready for epoxy.

Step three was adding the tabs. First, I mixed up a two-pump batch of epoxy. Before I added any fillers to this batch, I applied the clear epoxy to where I was going to add the tabs with an acid brush. I then added my fillers to the remainder of the epoxy. I used 5 spoonfuls of wood flour and 2 spoonfuls of silica and no microlight. I was going for "strong" rather than "sandable" for the tab-fillet. I loaded this mess into a ziploc freezer bag. To do this I placed the bag in a big cup I had and folded the top of the bag over the sides of the cup. This made it easy to pour the epoxy mixture into the bag with little mess. Unfortunately, for some reason, I turned the bag inside out before I placed it inside the cup! I didn't realize my mistake until I had added the epoxy. Oh well, it still worked, even if I couldn't actually close the bag up. I clipped off a corner of the bag and then proceeded to lay down a line of the goop along the seam between the wire stitches. Once it was all down, I used my 3/4 inch wide stick to smooth it out and form a nice concave fillet. After all of the tabs were smoothed, I pulled the tape on the 3/8 inch lines.
I'm glad I added these tabs for one additional reason: It was a test run of the adding the real fillets. It's very likely that the final fillet will cover any mistakes I made with the tabs. As it turned out, the epoxy mixture for the tabs wasn't thick enough to be easily smoothed with the stick. I will add more wood flour and microlight for the final fillets.

No comments:
Post a Comment